01

Welcome

Copper started as one of several hobbies I picked up along the way — something I stumbled across while browsing YouTube one day. I honestly didn't expect it to turn into much. But one thing led to another, and here I am.

How it started

The first person who really got me interested was a Canadian maker named Reinhard Stanjek. He was making copper spirals to put in the soil around plants — the idea being that copper helps draw energy from the atmosphere and supports growth. I tried a few of his simpler projects and got curious about what else copper could do.

That curiosity led me to Slim Spurling's work — tensor rings, Acu-Vac coils, Light-Life Technology tools. All made from copper, all based on very specific measurements tied to ancient proportion systems going back to the Egyptian Royal Cubit. I bought an EMF tester and started experimenting.

Around the same time I found Moonas Magicka on YouTube, who has a lot of clear, practical videos on actually making these things. I bought one of her ebooks and that gave me enough confidence to really start. Good resource if you're just getting into it.

Then my wife and I went to a small show in Everett and bought handmade copper bracelets from a gentleman there. We've both worn them ever since. That was probably the moment I went from curious to actually doing it.

What I make

Mostly bracelets, but also pendants, necklaces, and figure-eight infinity earrings. Anything I make is shaped by hand. I base the measurements on fractions of the Egyptian Royal Cubit — the same tradition Slim Spurling drew from — an ancient unit of measurement that keeps showing up in interesting places the more you look into it.

I make things for myself and for friends and family. If someone else wants a piece, I'm happy to make one — but I'd want them to understand what they're getting. This isn't jewelry-store copper. It's handmade, it's intentional, and the idea behind it is that what we wear can be more than decoration.

What draws me to copper

Copper is one of the oldest materials humans ever worked with — we're talking 10,000 years or more. And across almost every culture, people treated it as something more than just a metal. Egypt, Mesopotamia, Greece, Rome, Indigenous North America, Asia — everywhere you look, copper shows up in ritual, healing, and sacred contexts.

There's also just the physical side of it. Copper warms instantly to your skin. It develops a patina over time that's unique to the person wearing it. It's naturally antimicrobial. It holds the marks of whoever made it. Even setting aside anything energetic or spiritual, it behaves like a living material in a way most metals don't.

For me it sits somewhere between craft, curiosity, and the long tradition of people finding something meaningful in this metal. I don't make big claims about what it does. I just know that working with it carefully and wearing it intentionally seems to matter — to me, and to the people I've made things for.

Glad you found your way here. Have a look around — and if you want to know more about the history and research behind any of this, head over to the Research tab.

02

Projects

✦ Currently working on

I have four pieces I am working on perfecting at the moment.

⟡ Copper Bracelet

A bracelet is the most direct form of copper contact — worn at the wrist, close to the pulse. I cut mine to a length derived from the Egyptian Cubit (20.64 inches), an ancient unit of measurement tied to human proportion and sacred geometry. The length is cut as a specific fraction of the cubit, keeping it grounded in that ancient system.

I twist the wire before annealing, then bend it by hand into a circle, weld the ends together, and gently hammer the ring perfectly round on a wooden mandrel. The result is solid band that carries both the intention spoken during twisting and the structural memory of the copper itself.

  • Material: Pure copper wire, hand-twisted
  • Measurement system: Based on the Egyptian Cubit (20.64")
  • Finish: Vinegar-cleaned, tumble-polished, jewellery-sealed
  • Form: Welded closed ring, hammered round
Handmade copper bracelet

◎ Pendant — Three-Ring

I built these pendants using three copper rings. they have a small clasp that doubles as a means to attach the leather strap. I am experimenting with small plain clasps or twisted clasps.

To stay within my measurement system of only using fractions of an Egyptian cubit, I have made several different sizes of rings to see which three go together best as a match. I now have a dimension scale for them.

  • Material: Pure copper wire rings, hand-formed
  • Construction: Three linked rings, welded
  • Finish: Polished and sealed
  • Wear: Designed to hang on leather cord
Copper ring pendant on leather cord

🪬 Infinity Earrings

The figure-8 is one of the oldest symbols of infinity and flow — The unbroken loop represents energy moving without end. I made these from 14 guage copper wire and they are twisted and then bent around into a double loop. They are made from one piece of copper.

An earring is light to wear but rich in intention. The copper sits close to the body, quietly doing its work throughout the day.

Copper figure-8 earring

🪬 Copper ring stand

These are simple round rings used to support a natural stone sphere about 3 inches in diameter.

I made this out of 10 guage Copper Wire.

Copper round stand

03

The Process

How I Make a Piece

I work using the same fundamental process — from raw wire to finished work. Below is the full sequence for making a bracelet, which forms the backbone of how I have been working so far.

Step-by-Step: From Wire to Finished Bracelet

1 — Measure & Cut

I cut the wire to length based on the Egyptian Cubit (20.64 inches) — an ancient unit rooted in human proportion. Each piece type uses a specific fraction of this measurement. For a bracelet, I use approximately 15 inches of wire, though I refine these lengths as the work evolves.

2 — Twist with Intention

Before I shape anything, I twist the wire. While twisting, I use a spoken incantation or prayer — words and sound woven into the motion. My belief is that the intention I set at this stage becomes part of the copper itself, carried forward through every subsequent step and into whoever wears the piece.

I keep small reference cards on hand during this stage as guides for the twisting pattern.

3 — Rough Bend for the Oven

If the piece is long, I roughly bend it so it fits inside the annealing oven. This is preparatory shaping only — no precision yet.

4 — Anneal (Heat Treat)

I put the piece into the annealing oven at 410°C for 5 minutes once the oven has reached temperature. Heating the copper softens it — returning its workability so I can bend, form, and shape it without cracking. The oven takes about 30 minutes to reach temperature from cold, so I plan my batches accordingly.

5 — Vinegar Clean (3 hours)

then the piece goes into a cleaning solution: 2 cups of white vinegar + 1 tablespoon of salt. This removes the oxidation and surface impurities that build up during annealing. I leave it to soak for 3 hours.

6 — Neutralise in Baking Soda

After the vinegar bath, I transfer the piece to a neutralising solution: 3 heaped dessert spoons of baking soda in 4 cups of water. This stops the acid action of the vinegar. Then I rinse thoroughly in clean water.

7 — Final Forming & Welding

Now the careful shaping begins. I finish bending the piece by hand — bringing the ends together to meet perfectly. For a straight piece, I eyeball from end to end and check alignment, twisting until everything lines up correctly. I next bend until the join meets and weld the joint closed.

8 — Hammer Round

Using a round socket as a mandrel, I lightly hammer the piece into a perfect circle. This both refines the shape and work-hardens the copper slightly.

9 — Final Vinegar Clean

I put the piece back into the vinegar solution for a final clean after all the handling and forming.

10 — Tumble Polish (3 hours)

I put the piece into the tumbler which has 1 pound of 5 different shapes of stainless steel media, adding 1 tablespoon of water and 3 drops of dish soap. I tumble for 3 hours. The media burnishes the surface to a bright, smooth finish. Then I remove it, wash it in warm water, and leave it to dry.

11 — Acetone Clean & Seal

Once dry, I dip the piece in acetone to remove any remaining oils or residue, then allow it to dry fully. Finally, I coat it with jewellery finish to protect the surface and preserve the polish.

📌 On Equipment

The tools behind this process are simple but deliberate: a small annealing oven, a compact tumbler with stainless steel shot, basic mixing bowls, and hand tools.

04

Workshop

My Workspace & Tools

Here's a look at the simple setup I use for copper work — nothing fancy, but effective for small batches.

Hand Tools

Here is a collection of the main hand tools that I use.

  • I just aquired a wooden mallet, the cleanest looking tool in the bunch.
  • There is a pair of electrical wire cutters for cutting to length.
  • A ruler for cutting to lenth.
  • Some brushes for puting on the protective coating.
A selection of hand tools

Annealing Oven

Small electric oven reaches 410°C in ~30 min. This is a beautiful little oven. I used a propane torch to heat the copper pieces with, but I felt it was not consistant enough and then I also read that heating too much can damage the copper.

  • Temp: 410°C for 5 min.
  • Used for: Any copper peices i want softened.
Annealing oven for copper jewelry making

Cleaning and polishing cabinet

This desktop sand blasting cabinet is perfect for keeping my workspace clean when grinding, sanding and polishing. Especially useful when using small using wire wheels as it stops the wire fragments from flying everywhere.

Dan&Darcy tumbler with steel media for polishing copper

Tumbler & Media

This is a small tumbler but it does a really great job. I purchased 1lb of Stainless steel media and tumble for 3 hours. It gives a nice bright, smooth finish.

Dan&Darcy tumbler with steel media for polishing copper

TIG welder

I bought this TIG welder in 2017 when I was working on motorcycles. (The model shown is a new model). I found that it works perfectly for welding copper. On the lowest setting it will weld thin 16 guage copper wire. Which is no easy feat I can asure you.

Hitbox TIG welder
05

Research

I'm a retired guy who found his way into working with copper — partly out of curiosity, partly from seeing what others were creating, and eventually because I enjoyed the process itself. What you’ll find here is what I’ve gathered along the way: a bit of history, some material science, a few things that are harder to put into words, and my own observations from spending time with the metal. Take it in whatever way is useful to you.

Copper through history

Copper is one of the oldest materials humans ever worked with. We're talking 10,000 years or more — archaeologists have found copper beads that old, small simple things that you can just imagine someone making with their hands and a bit of fire. Long before iron, long before steel, there was copper.

What strikes me about it is that across almost every culture you look at, copper was never treated as just a material. It was treated as something that responded. It changed color with the wearer, it took on heat, it held the marks of whoever shaped it. You find it in Egypt for ritual tools and sacred vessels, in Mesopotamia for ceremonial blades, linked to Venus and Aphrodite in Greece and Rome, used by Indigenous North Americans for adornment, in Asia for bells and bowls, in medieval Europe in healing salves. Everywhere it shows up, people treated copper as something alive — something that participated rather than just sat there.

The Royal Cubit

One thing that pulled me deep into this was learning about the ancient Egyptian Royal Cubit — the Mahe. It's a unit of measurement based on the human body, specifically the distance from the elbow to the tip of the middle finger. You can see it used in the architecture of the Step Pyramid of Djoser, which goes back to around 2700 BCE.

It wasn't just a practical measuring tool. Some researchers have found that the Sacred Cubit lines up with a resonant frequency around 144 MHz, which is associated with light. There are also suggested mathematical relationships to one ten-millionth of Earth's polar radius, and to geometric ratios in the hydrogen atom. I can't fully verify all of that, but the pattern is interesting enough that I've kept it in my research. The basic point is that ancient measurement systems seem to have been attempts to align human craft with the structure of the natural world — whether you take that literally or symbolically.

Slim Spurling and tensor rings

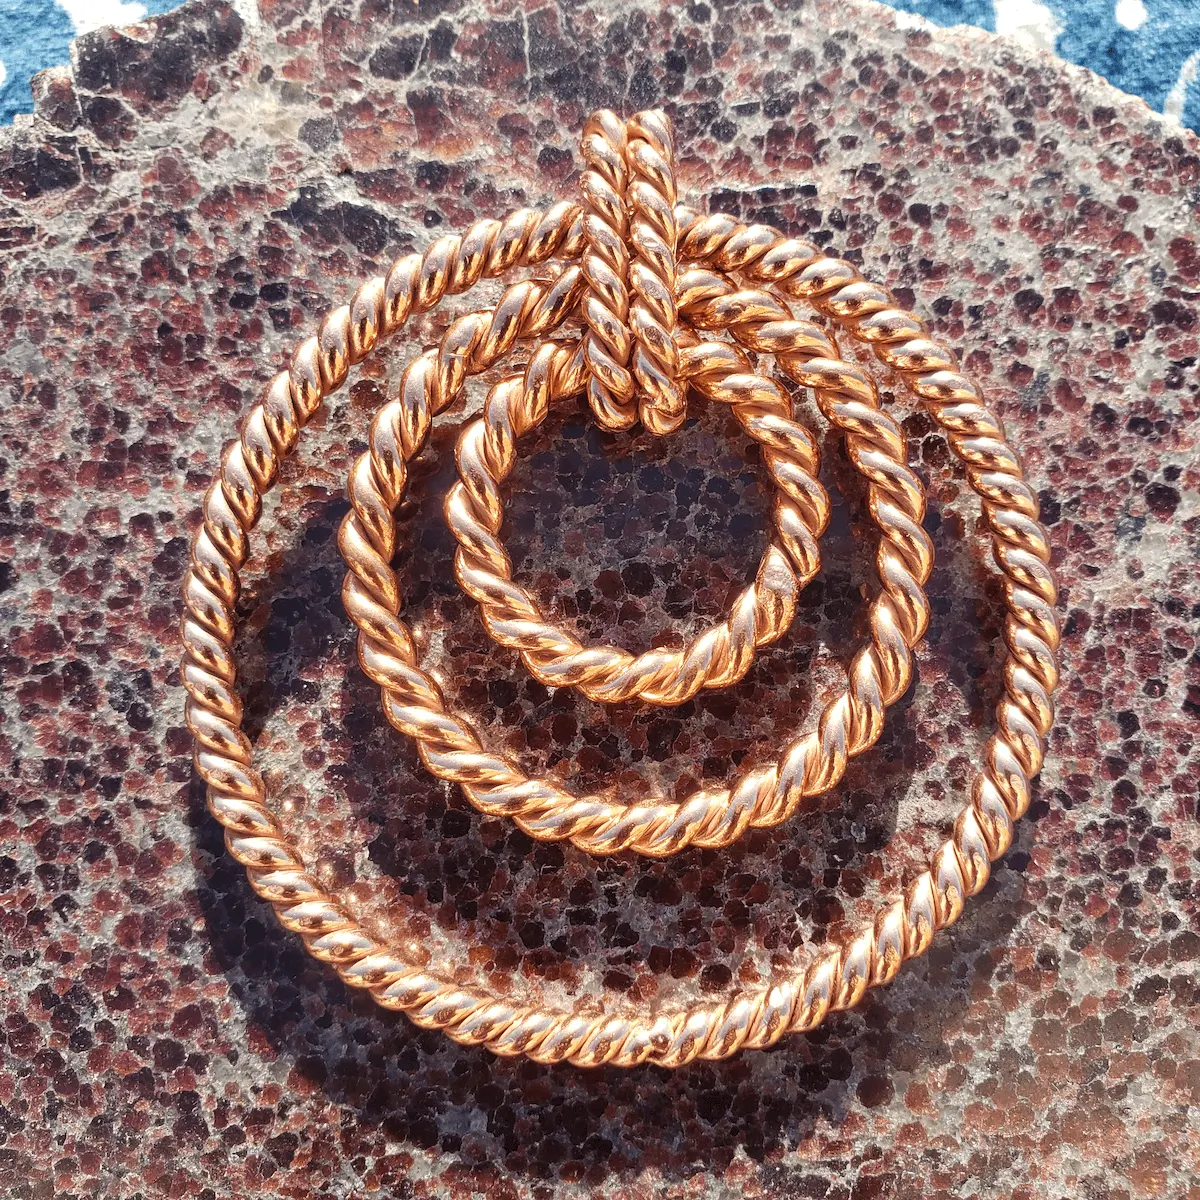
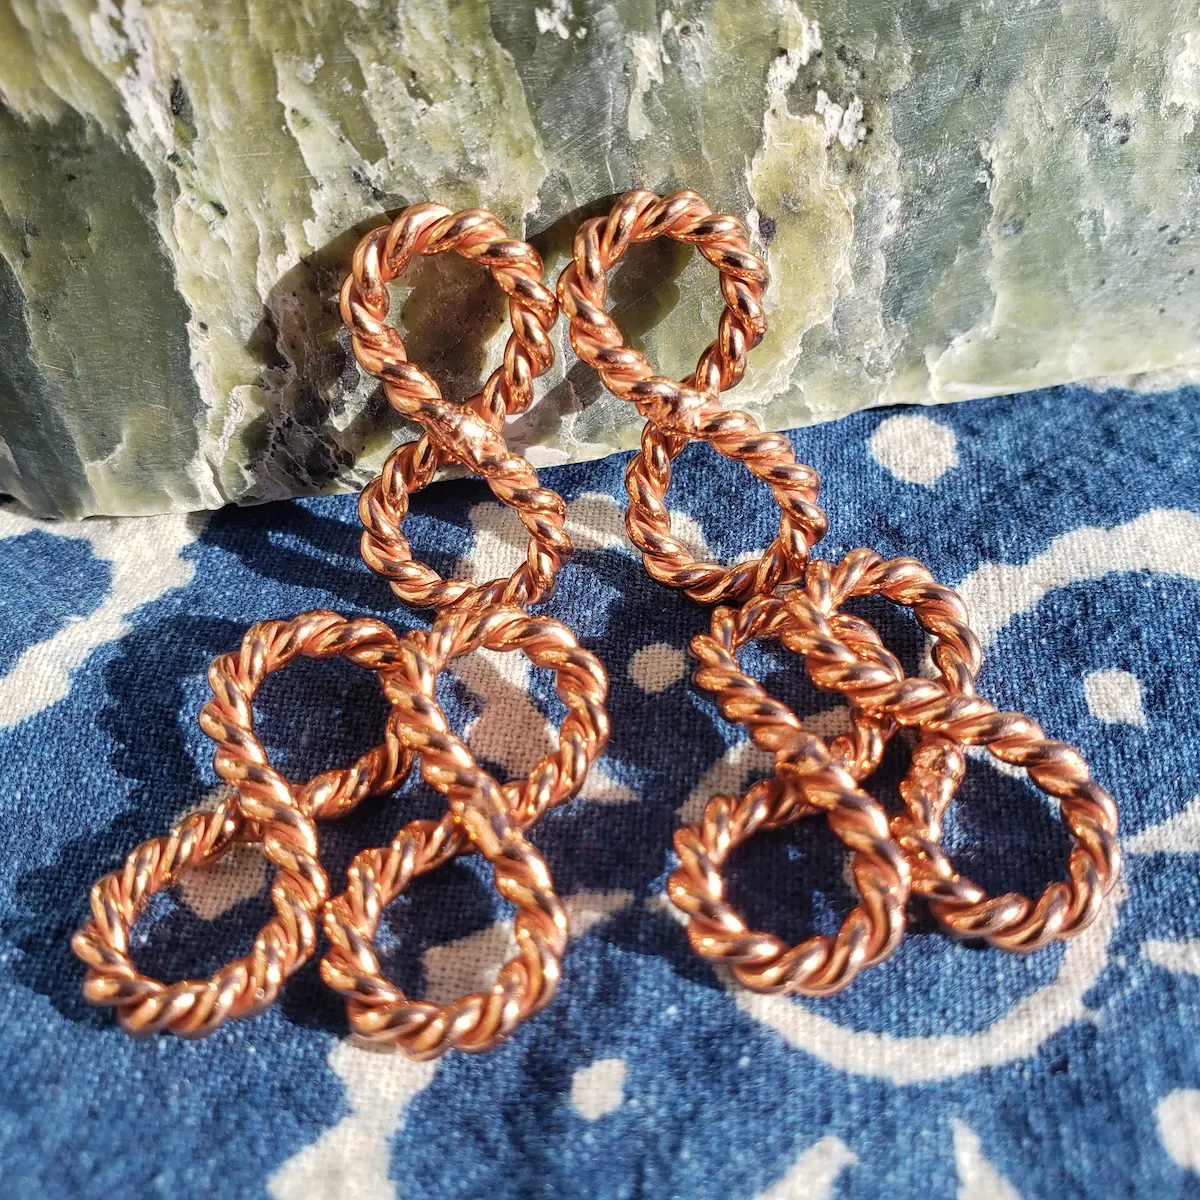
Slim Spurling (1938–2007) was a blacksmith and dowser who spent years researching how copper interacts with geometry and what he called subtle energy. In 1991 he discovered what he called the Light-Life Ring — the first tensor ring. From there came the Acu-Vac Coil, the Feedback Loop, and the Harmonizer. The basic idea is that copper wire made to a specific length, twisted in a consistent direction, and formed into a closed loop creates a coherent energetic field. Whether you take that literally or just as an interesting principle, the craft point underneath it is real enough: precision matters. The length, the twist, the closure — none of it is arbitrary.

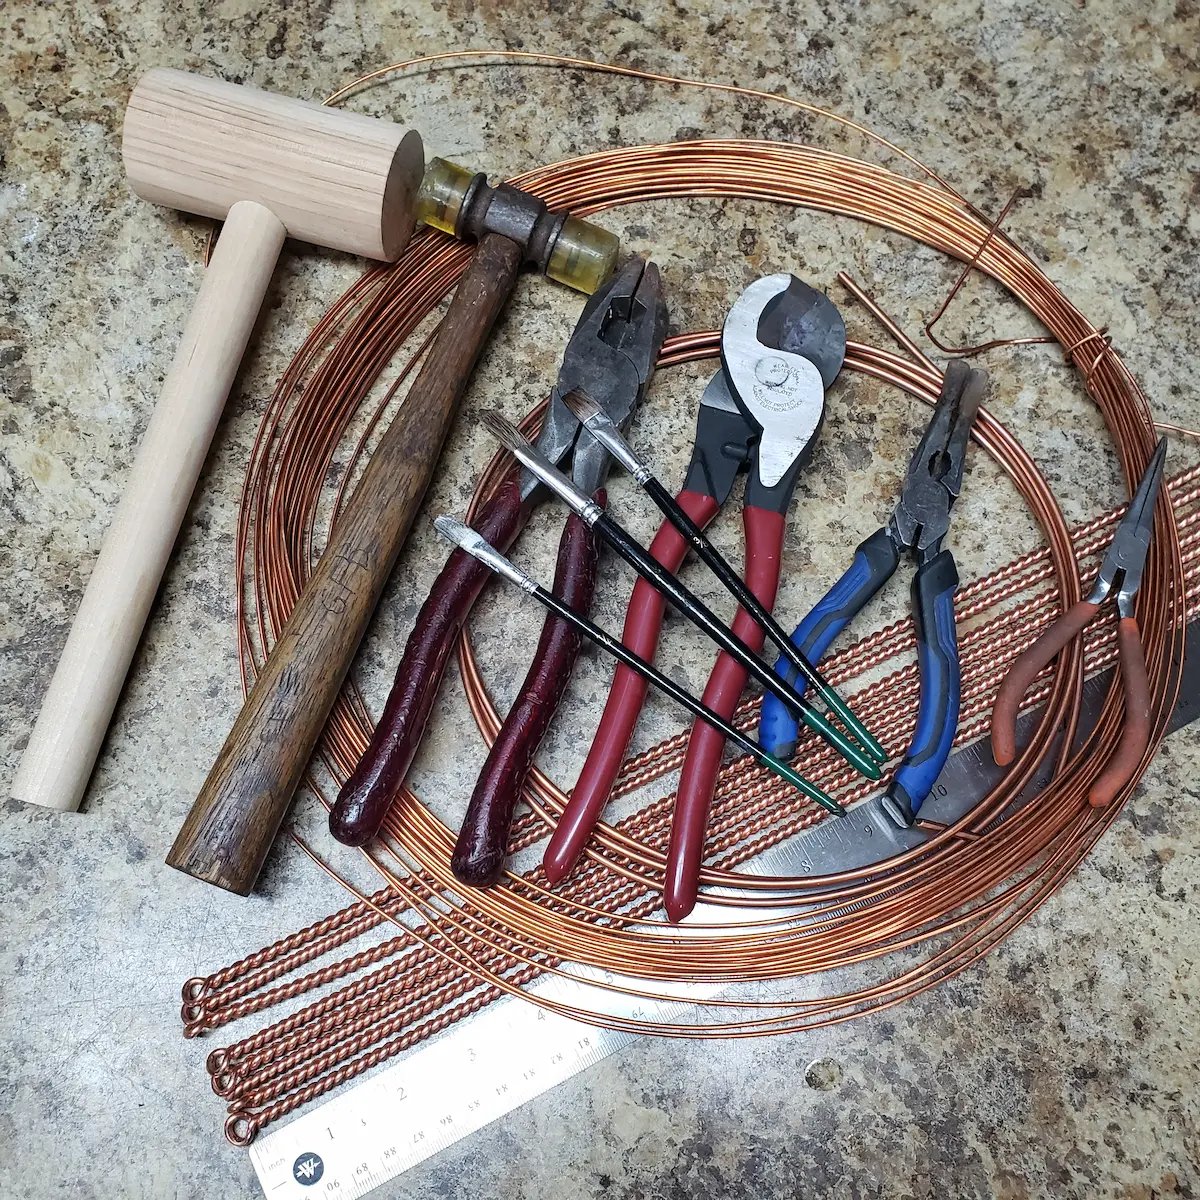
The lengths Spurling used were all derived from the Royal Cubit — fractions and multiples: 1/8, 1/4, 1/2, a full cubit. This is what I base my own bracelet measurements on, which is part of why I find the whole thread interesting — it connects something I'm making on my workbench directly back to the same proportions the Egyptians were using 4,000 years ago. He also put a lot of emphasis on twist direction, right-hand being expansive and left-hand contractive, which is something I've started paying attention to in my own work too.

The science of the material

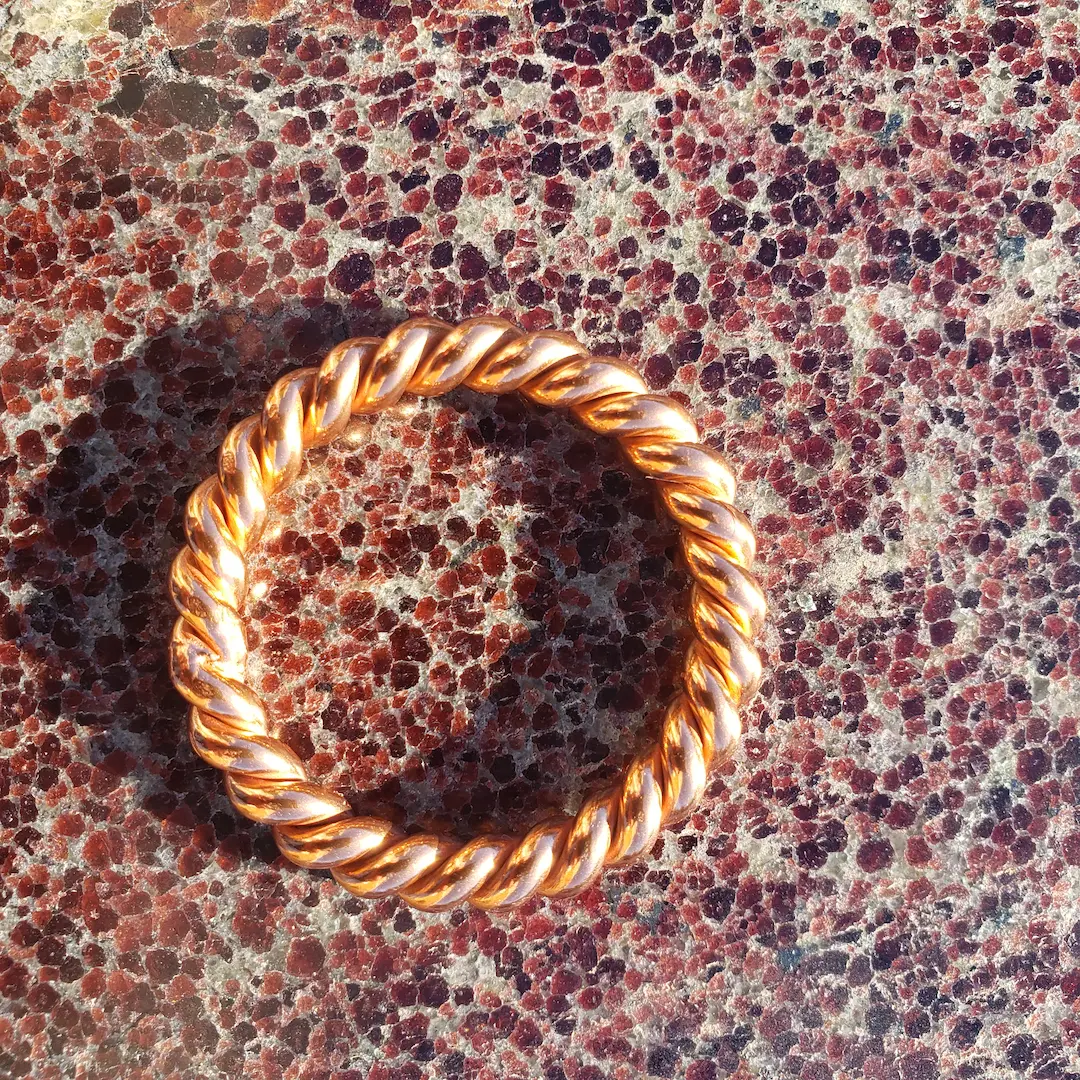
Setting aside the energetic side of things for a moment — copper is also just a remarkable material on its own terms. It's one of the most electrically and thermally conductive metals we know of, which is why it warms the instant it touches skin. It reacts with oxygen, sweat, and skin oils to develop a patina that is completely unique to whoever is wearing it — it literally records your chemistry over time. It naturally inhibits microbial growth, which is well documented and part of why it was historically used for water vessels and medical tools. And it's soft enough to shape by hand but durable enough to hold its form, keeping the marks of the maker built right into it.

My own observations

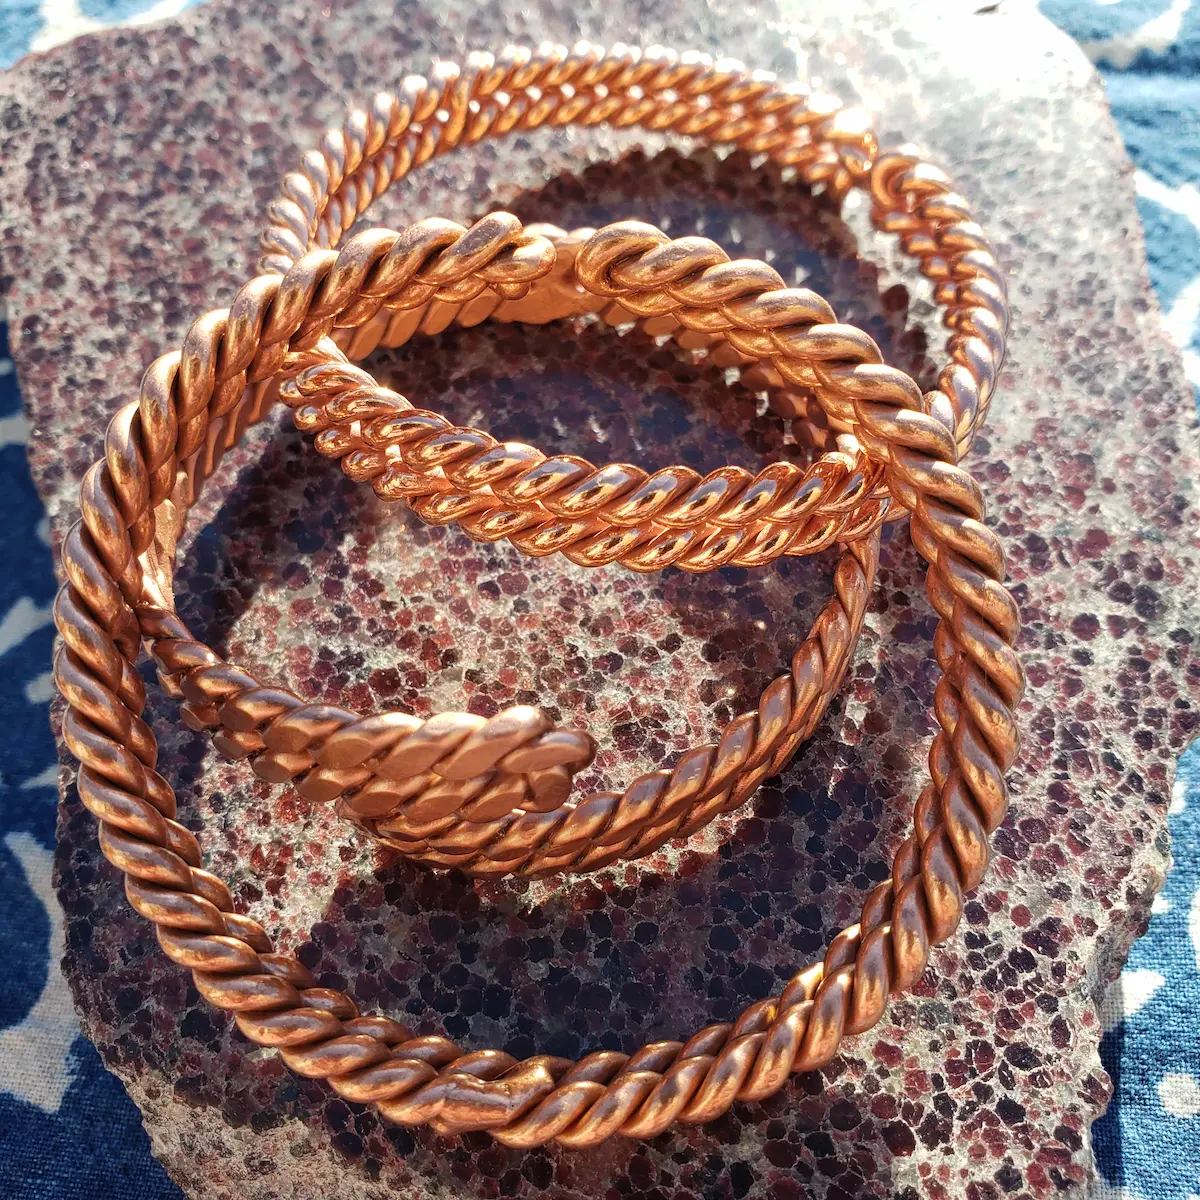
Only been at this about a year so I'm still figuring things out. A few things I've noticed: the first twist really does seem to set the character of a piece. The copper behaves a bit differently depending on the day — temperature and humidity seem to matter. Each finished piece ends up with its own personality even when I'm trying to make them consistent. But at the end of the day, hand crafting does make things unique.

I don't know how much of that is just craft knowledge and how much might be something else. Probably a mix. Either way, it's what I've noticed.

Resources I've found useful

Reinhard Stanjek — where I started. Good entry point for garden applications and copper spirals.

Moonas Magicka — practical videos on making tensor rings and copper tools. Has an ebook worth getting.

Light-Life Technology — carries on Slim Spurling's work with good background on his research.

06

Contact

📬 Get in Touch

Thanks for visiting The Copper Hobbyist! I'm always happy to connect with fellow copper workers and anyone else who may be interest.

🌐

Website

You're already here! Bookmark this site for easy access to my ideas and updates.

hobbyistWorld.com

Email

Have questions about the site, techniques, or general discussion? Feel free to reach out.

hobbyistworld@outlook.com

⚠️ Please Note

I welcome questions and conversation, but a few things are worth knowing:

  • I am a hobbyist, not a professional jeweller or metallurgist.
  • I make pieces primarily for myself — If you'd like something my contact is below.
  • Timings, measurements, and processes on this site may evolve as my hobby develops.
  • I do not offer medical claims about copper — only my own personal beliefs and experience.

I’m happy to discuss my process, the materials I use, and what I’ve learned along the way.

Contact

Email: The Copper Hobbyist

Website: Hobbyist World