


Go-Cart
✦ About this build
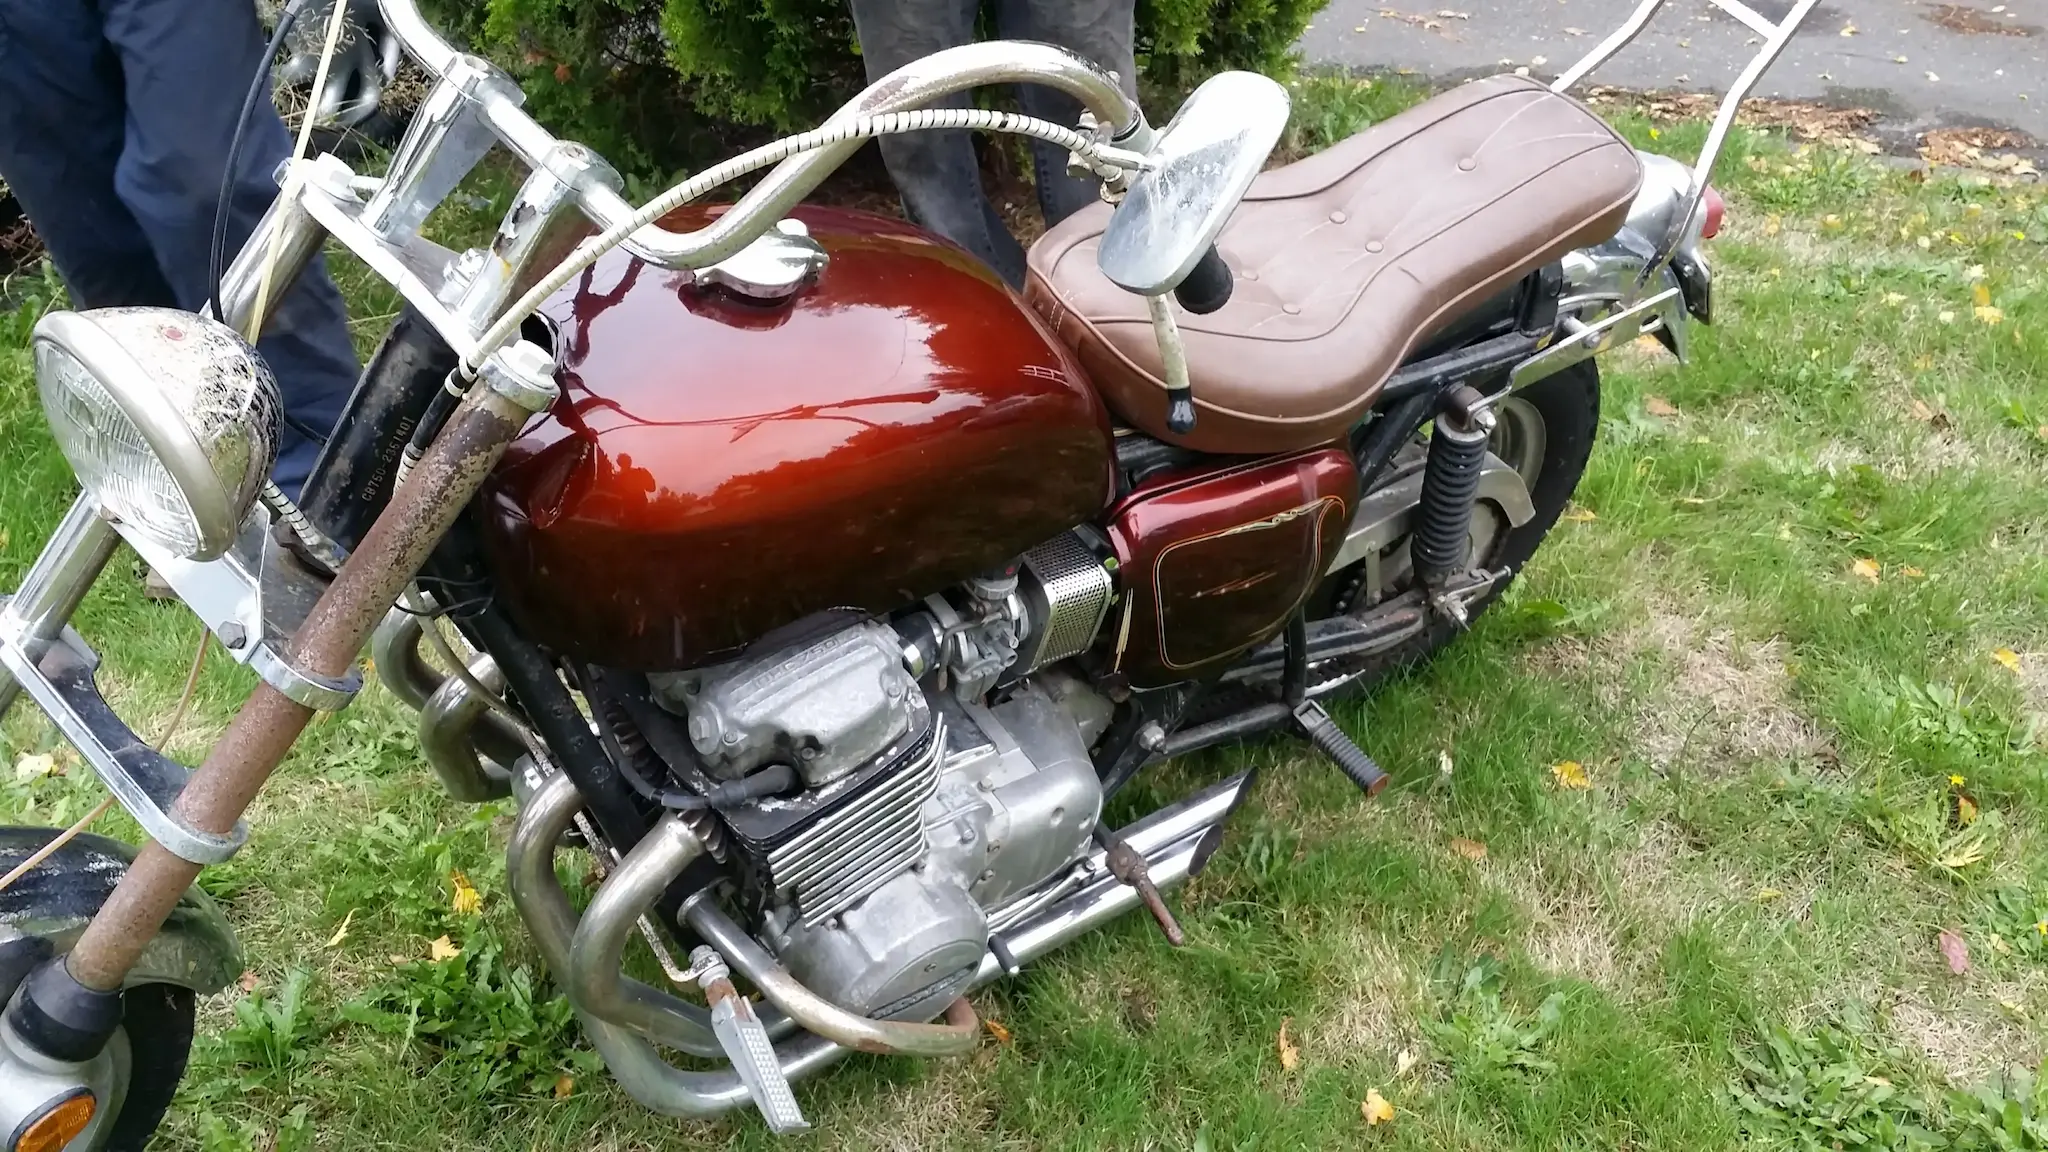
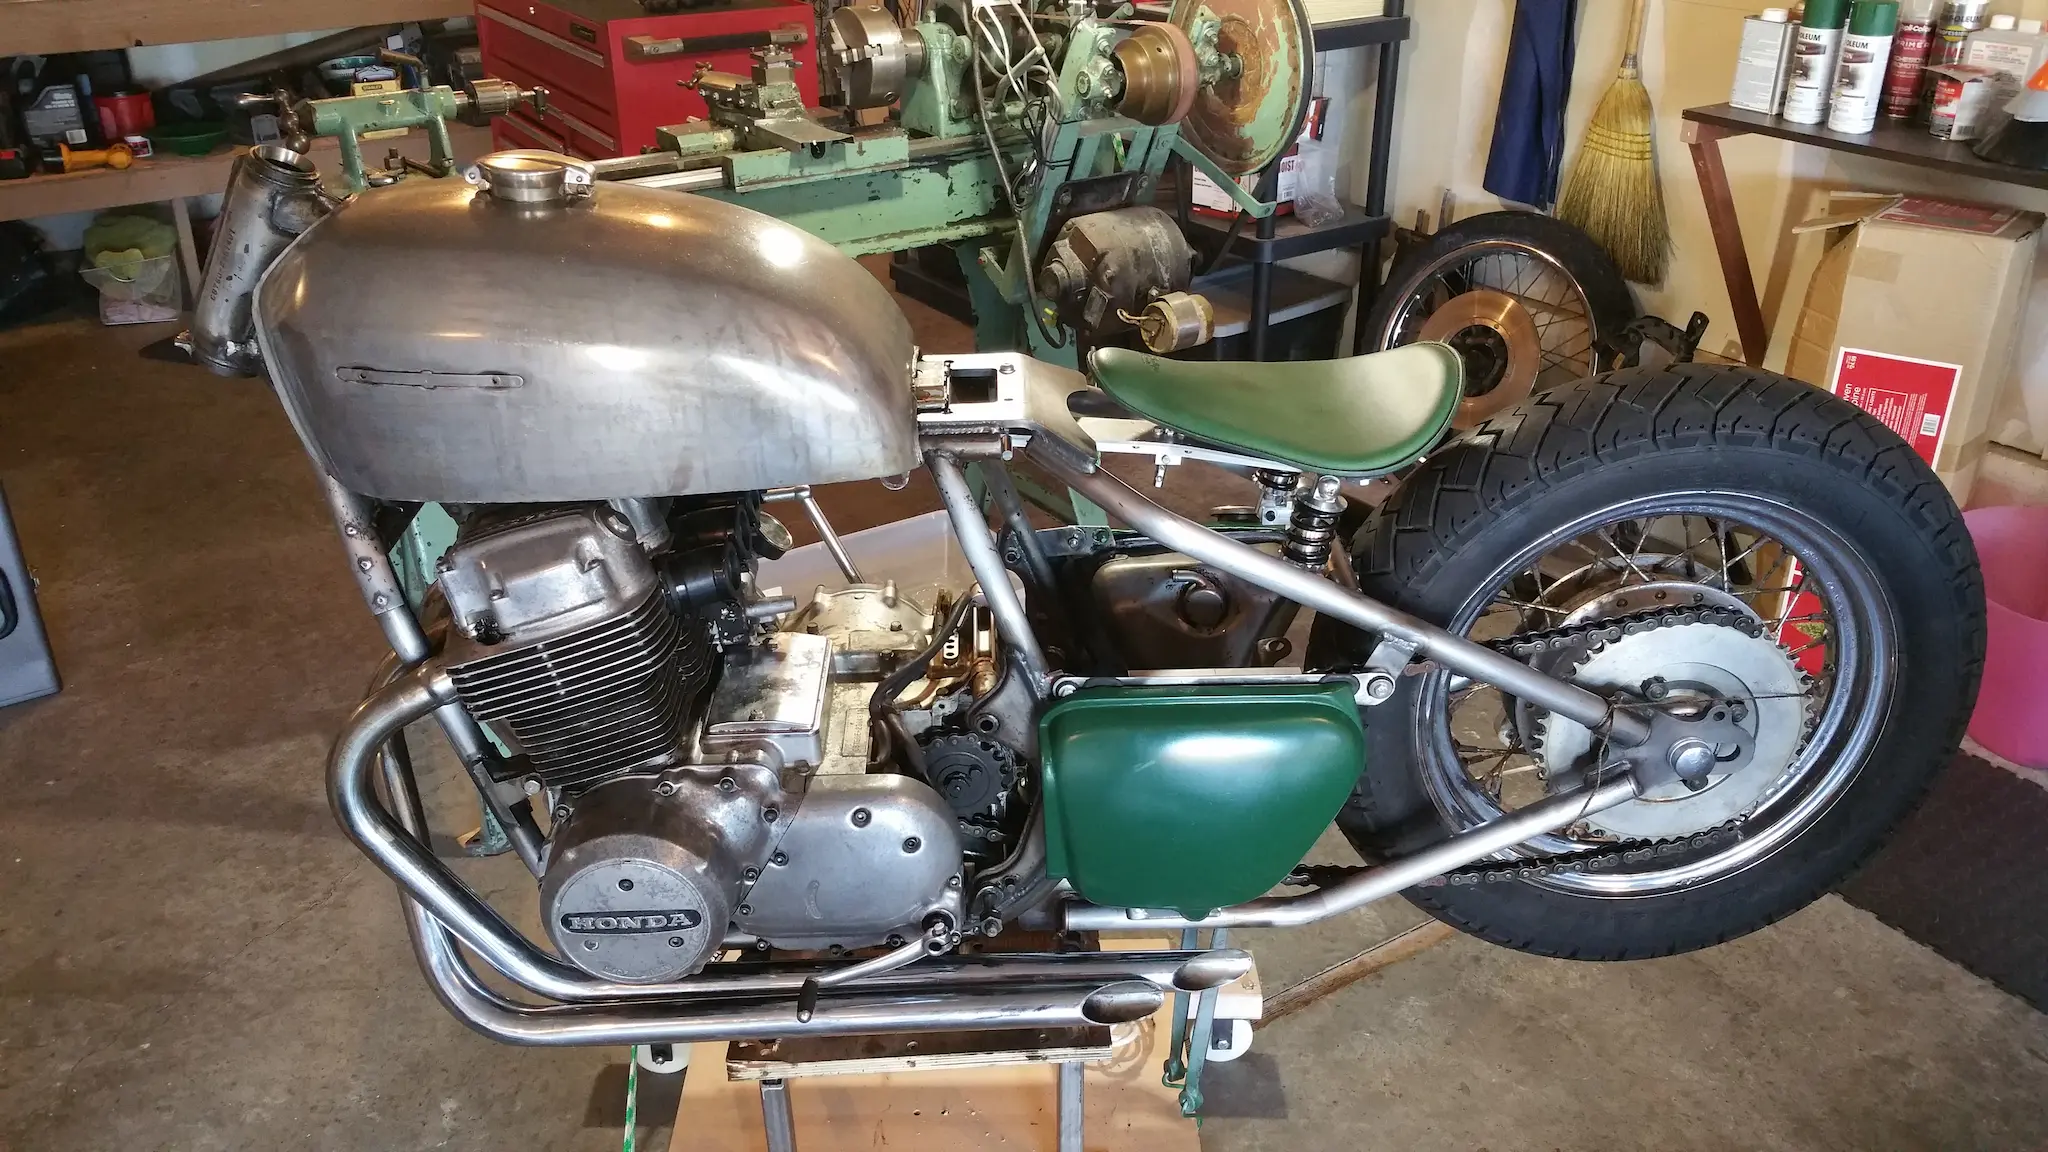
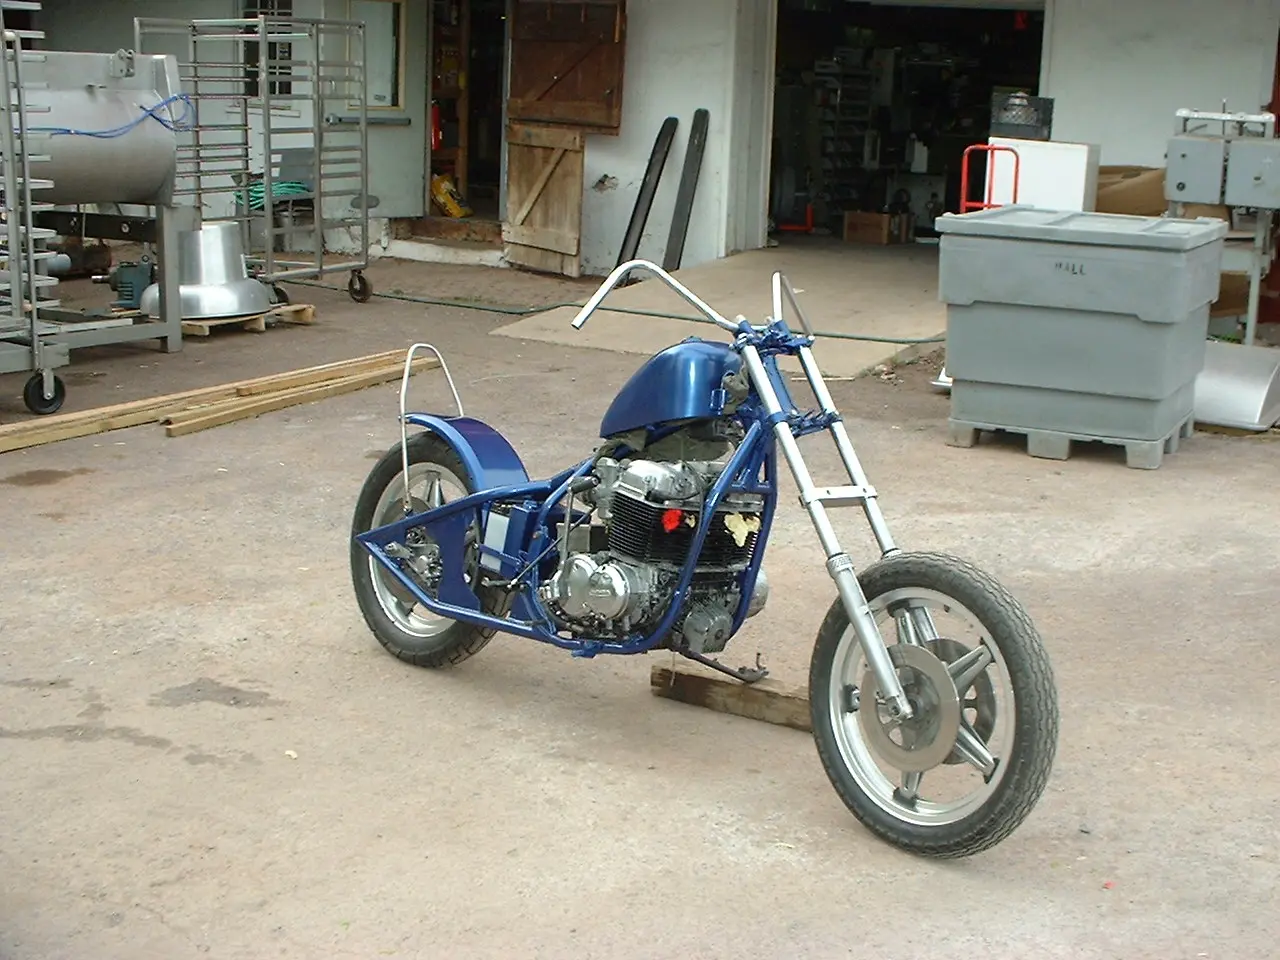
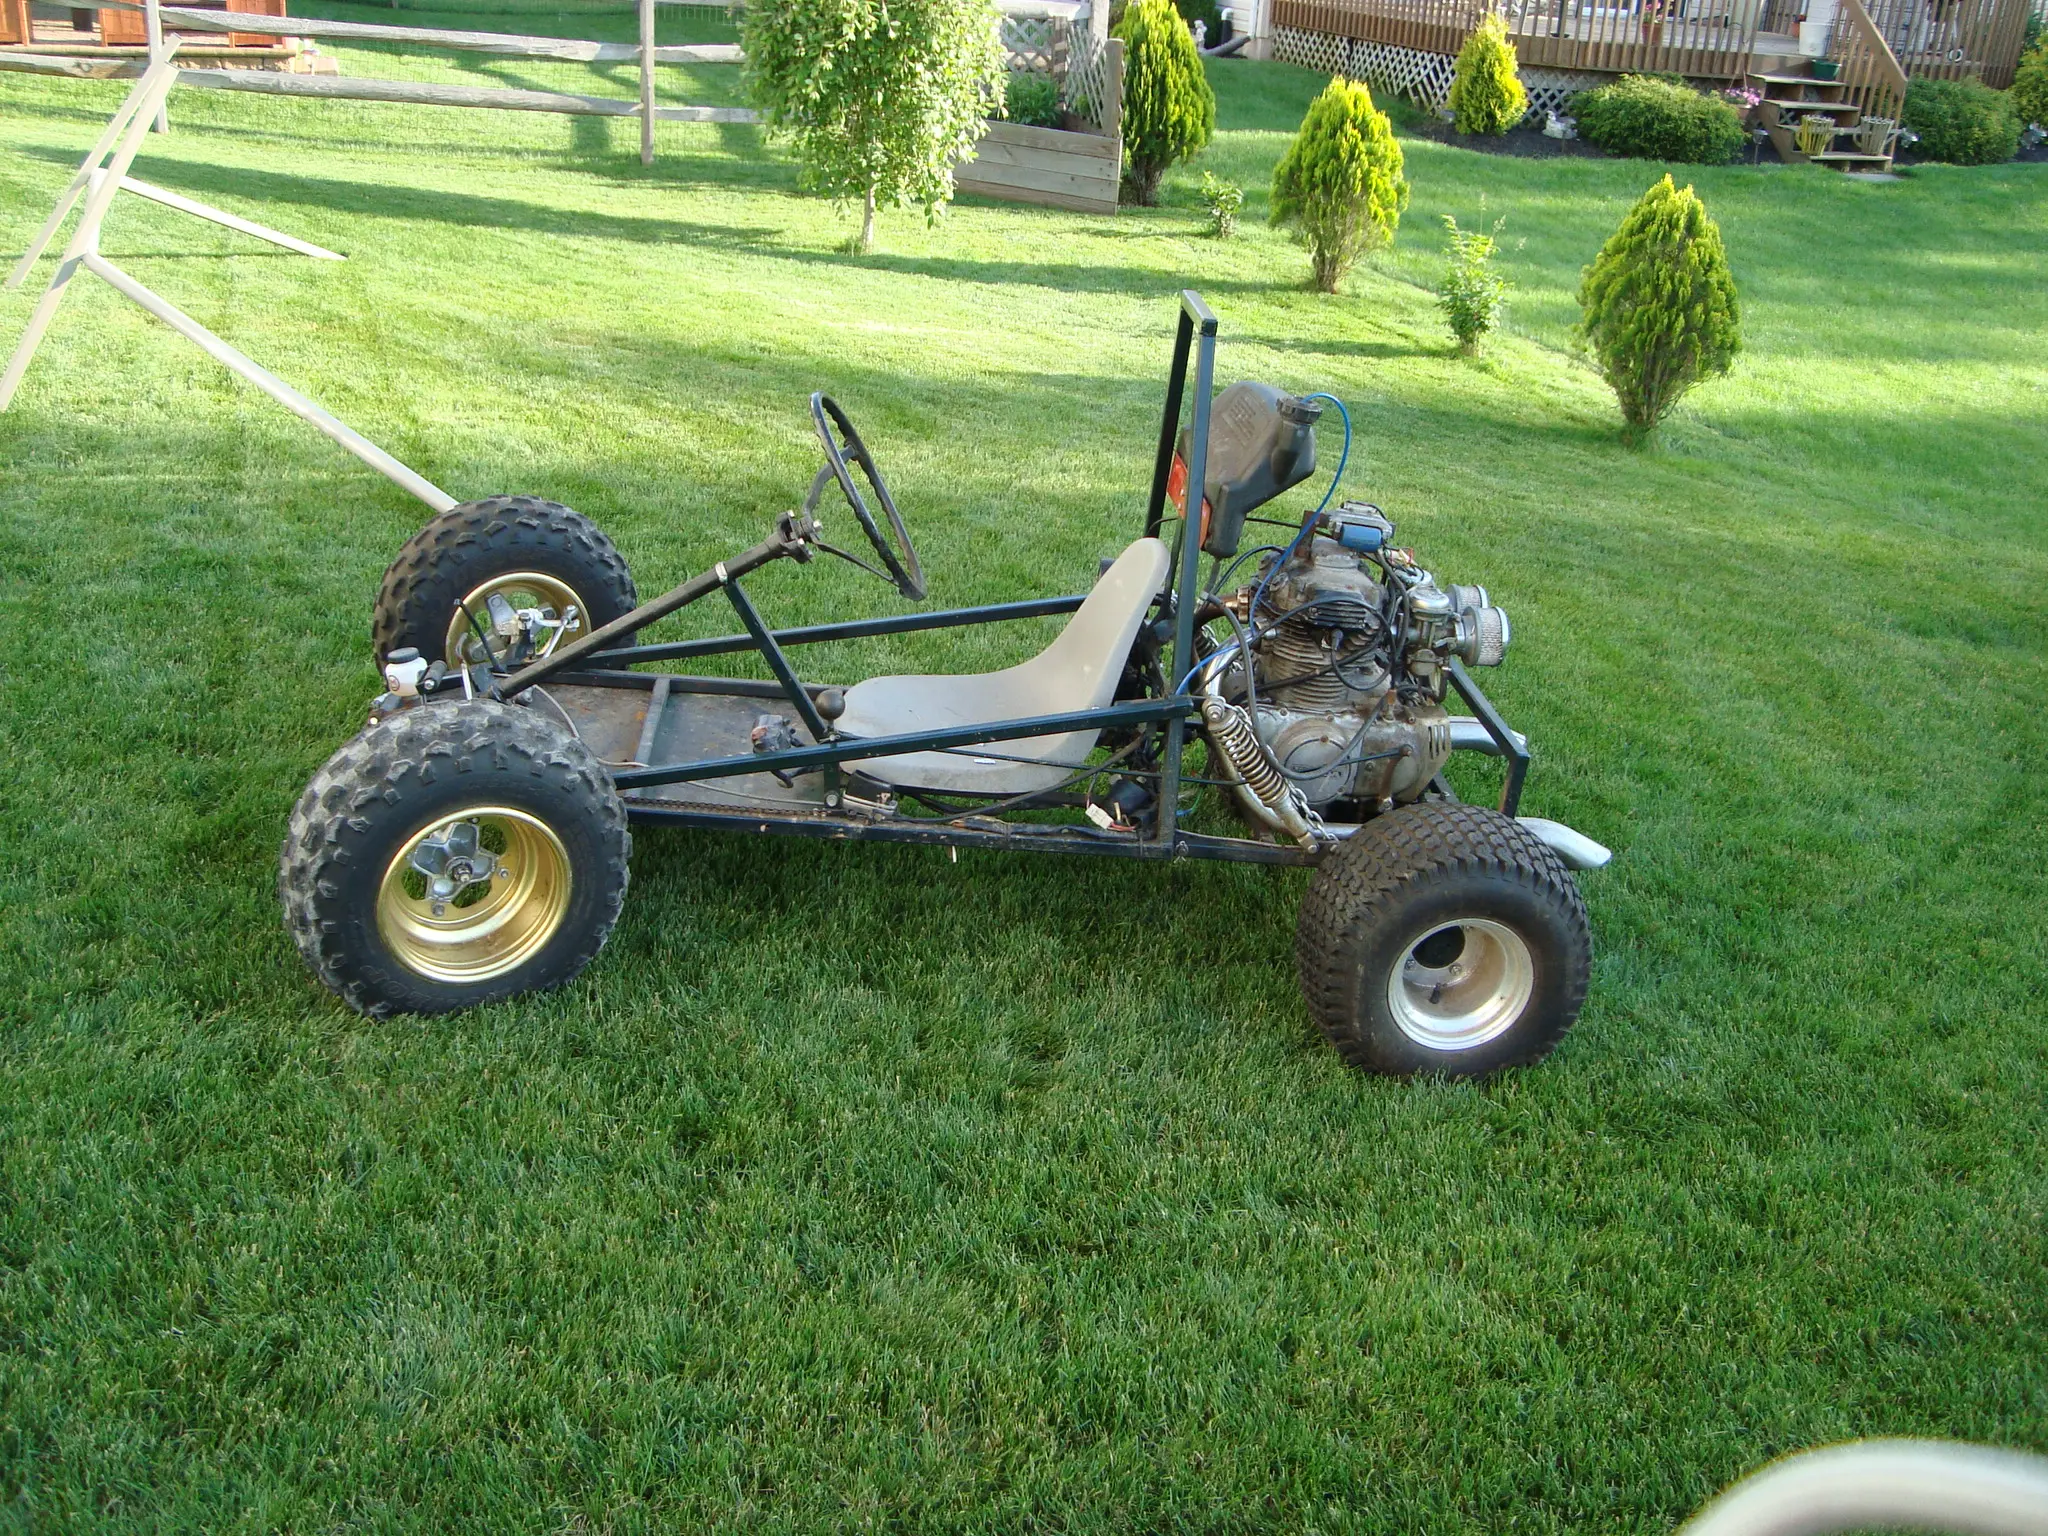
This go-cart project started on a whim when I was given an abandoned Honda 450 motorcycle that had been sitting unused in a lean-to at my workplace. Rather than restoring the bike, I decided to repurpose its powerful twin-cylinder engine into something completely different. The goal was to design and fabricate a lightweight custom go-cart chassis capable of safely handling the performance of a full motorcycle engine. The result was a unique and surprisingly quick machine that was as fun to build as it was to drive.
⟡ The Go-Cart
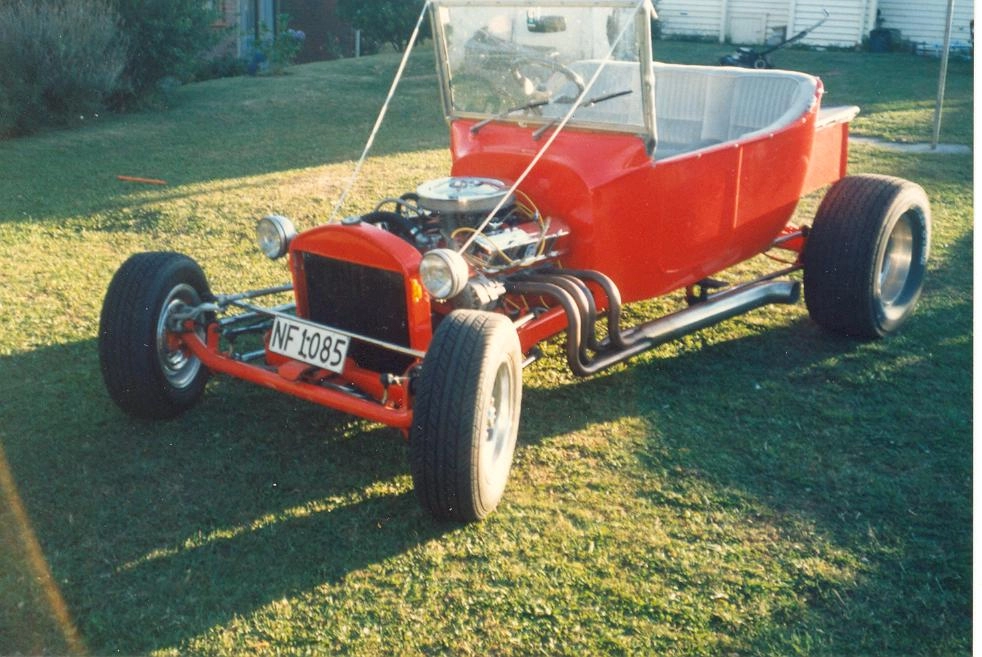
The completed go-cart after several months of use. Despite its simple appearance, it proved to be a powerful and reliable machine.
- Fully custom fabricated chassis
- Powered by Honda 450 motorcycle engine
- Lightweight and responsive
- Tested and driven regularly
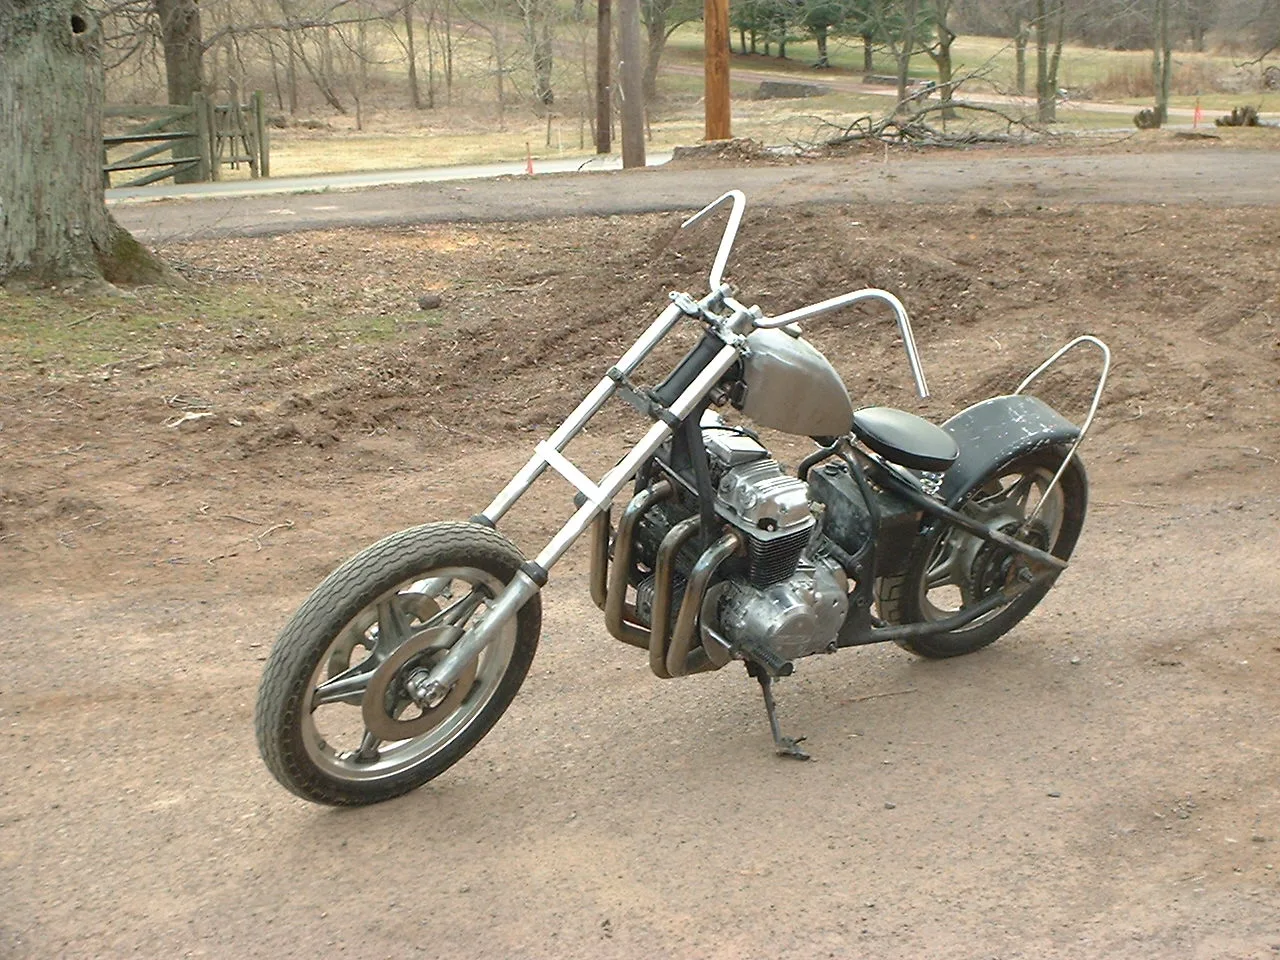
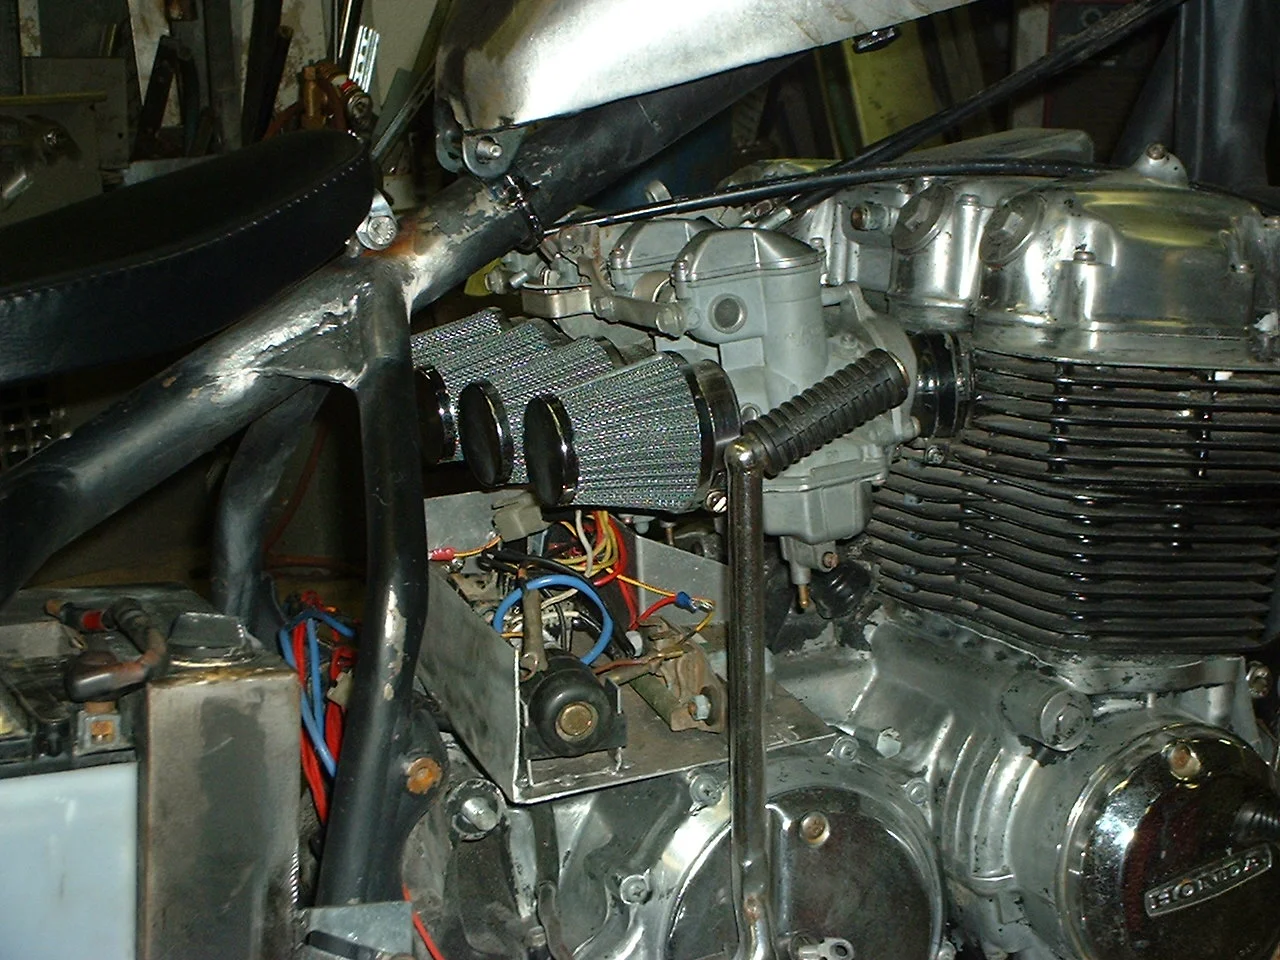
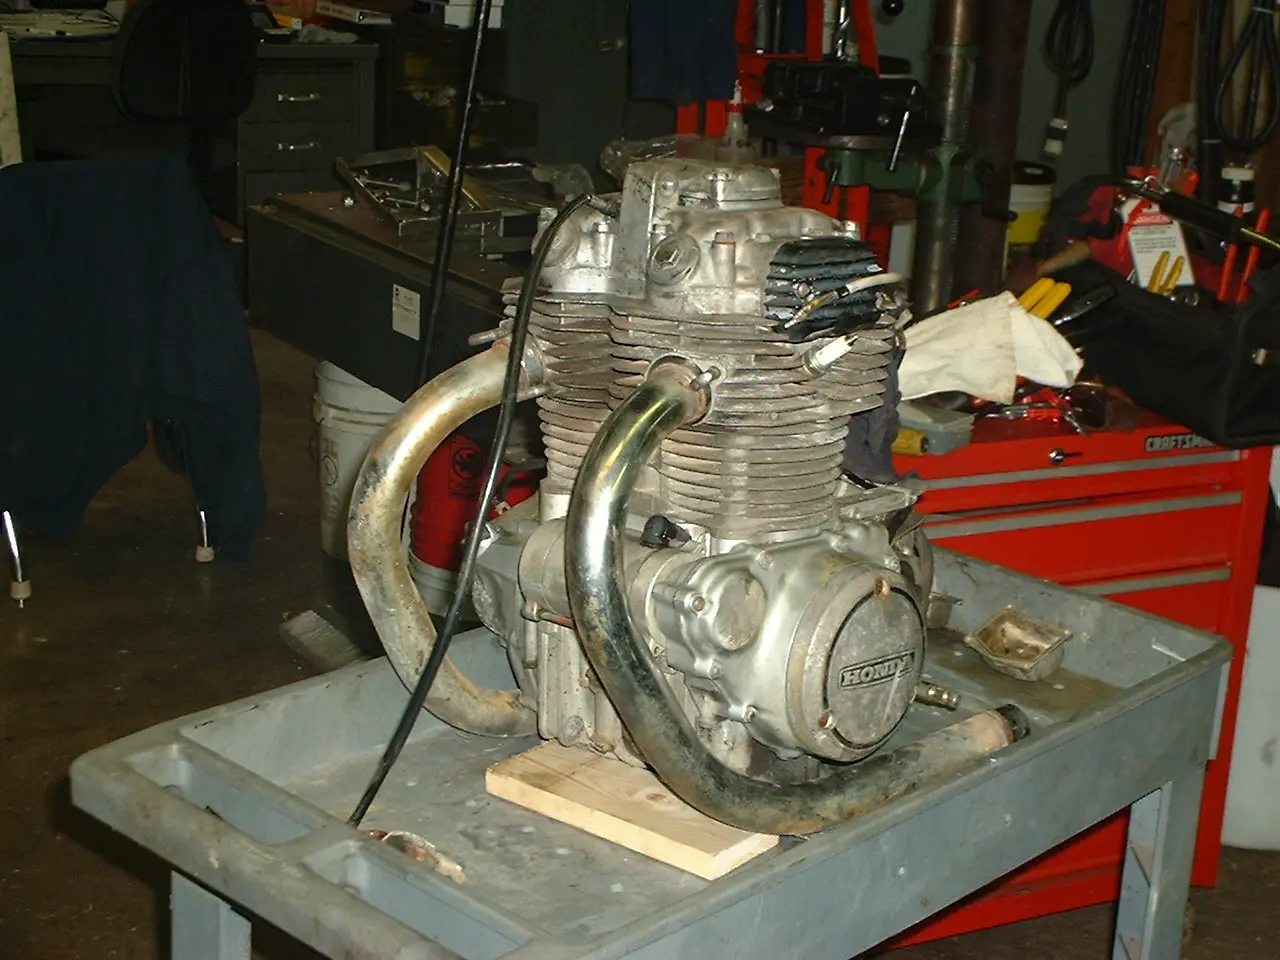
◎ The Engine
The heart of the build was a 450cc twin-cylinder four-stroke Honda motorcycle engine. It provided more than enough power for the lightweight frame.
- 450cc twin cylinder engine
- Four-stroke reliability
- Excellent power-to-weight ratio
- Repurposed from donor motorcycle
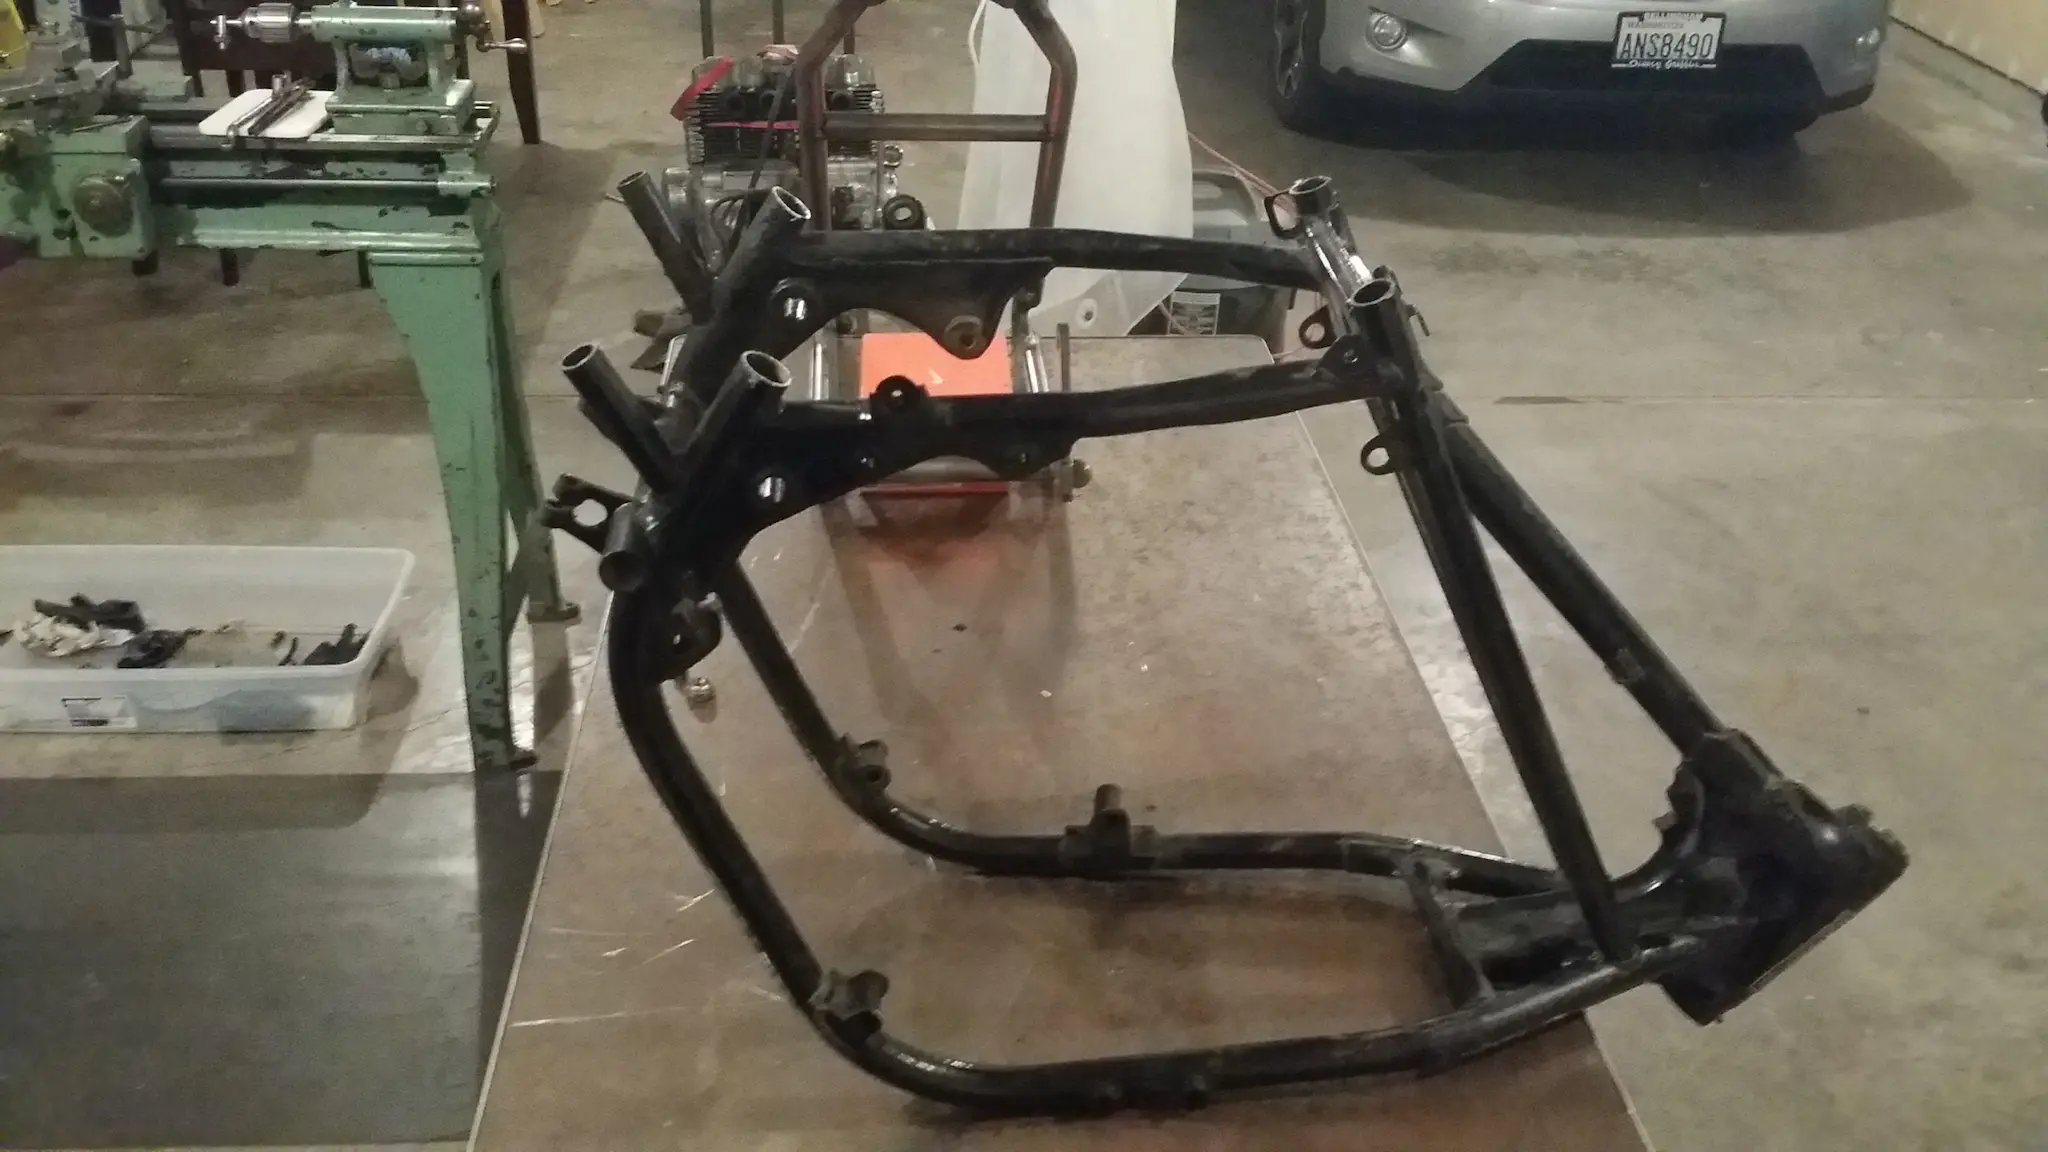
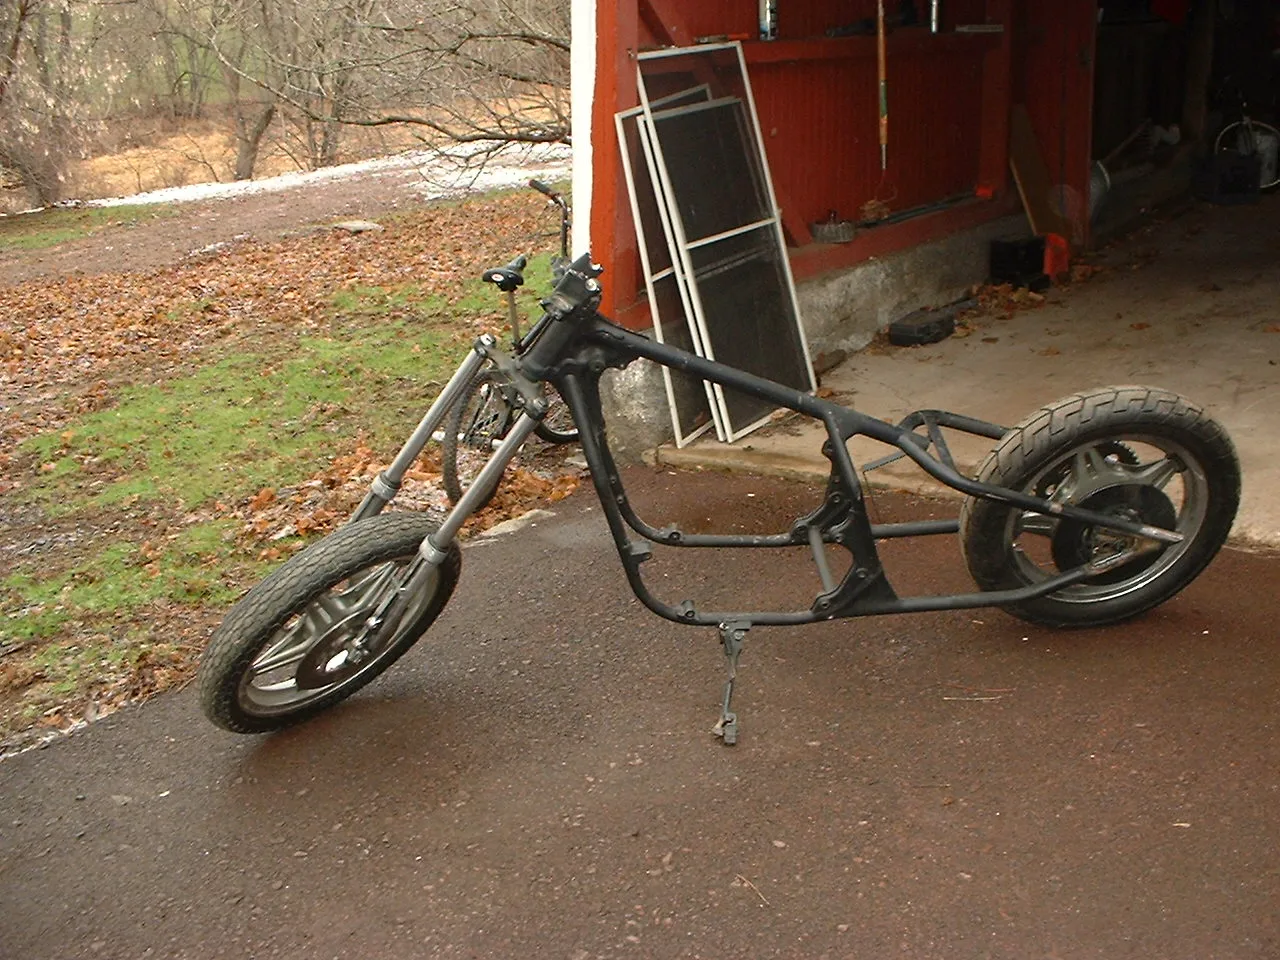
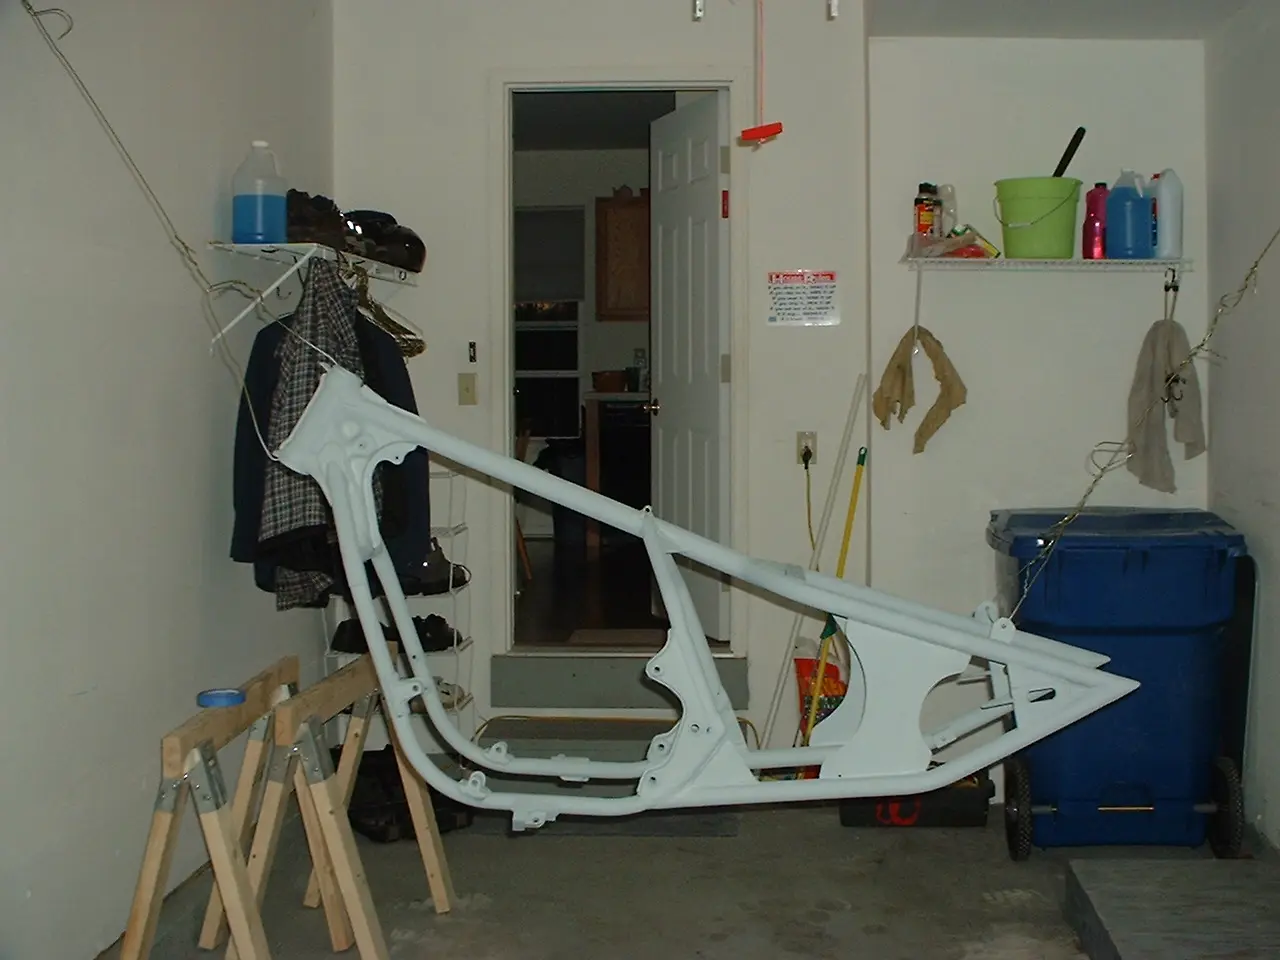
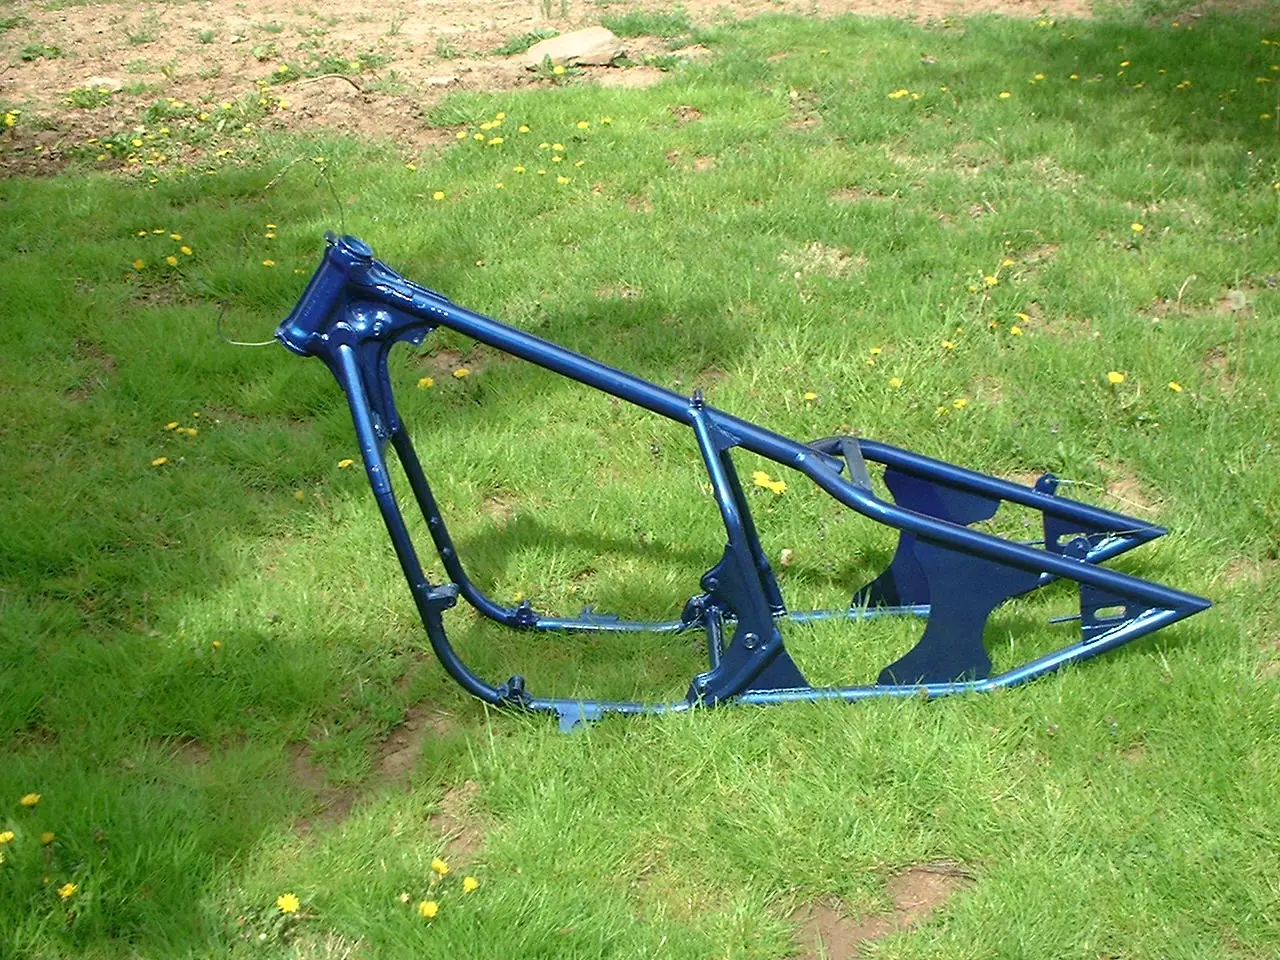
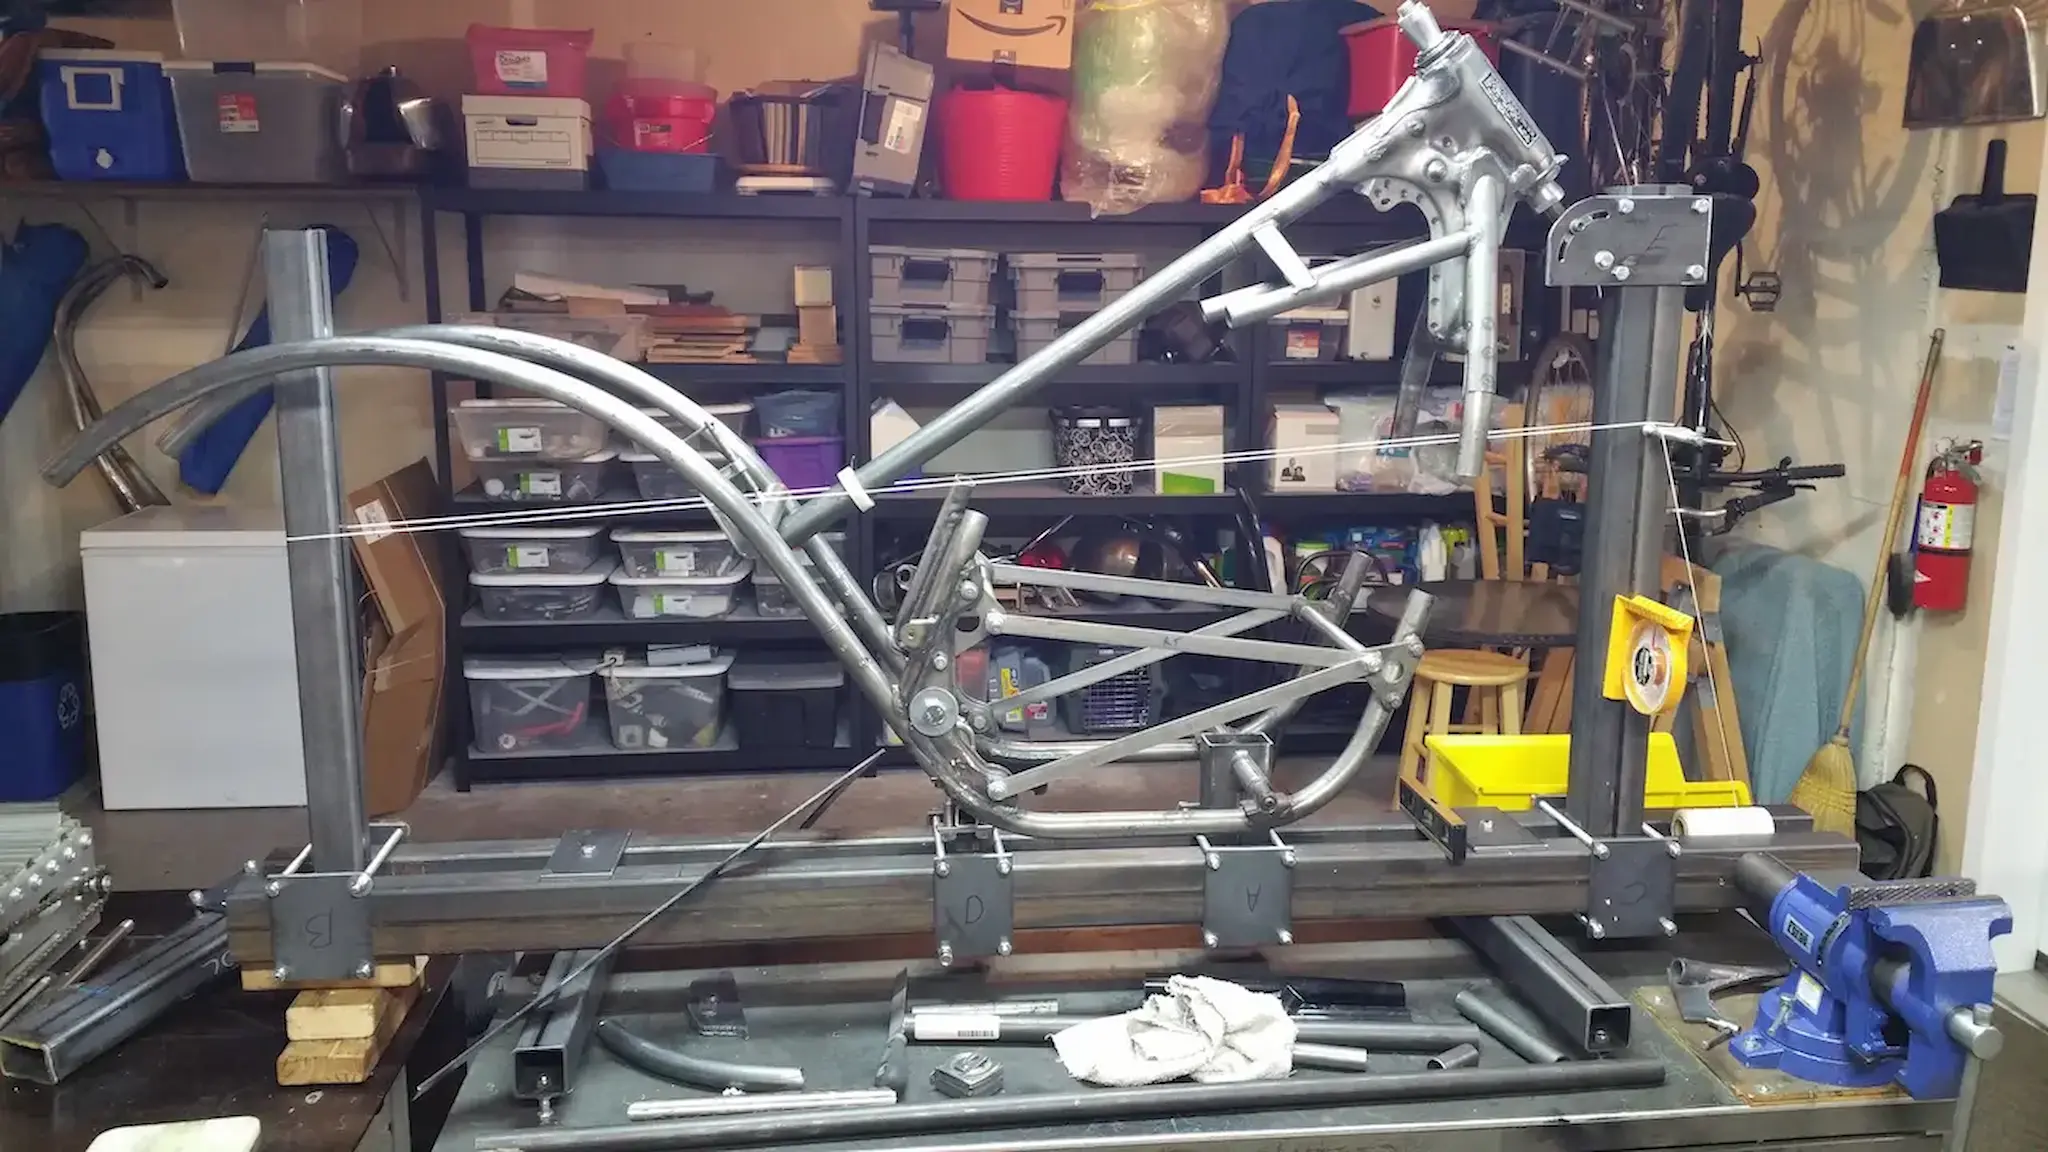
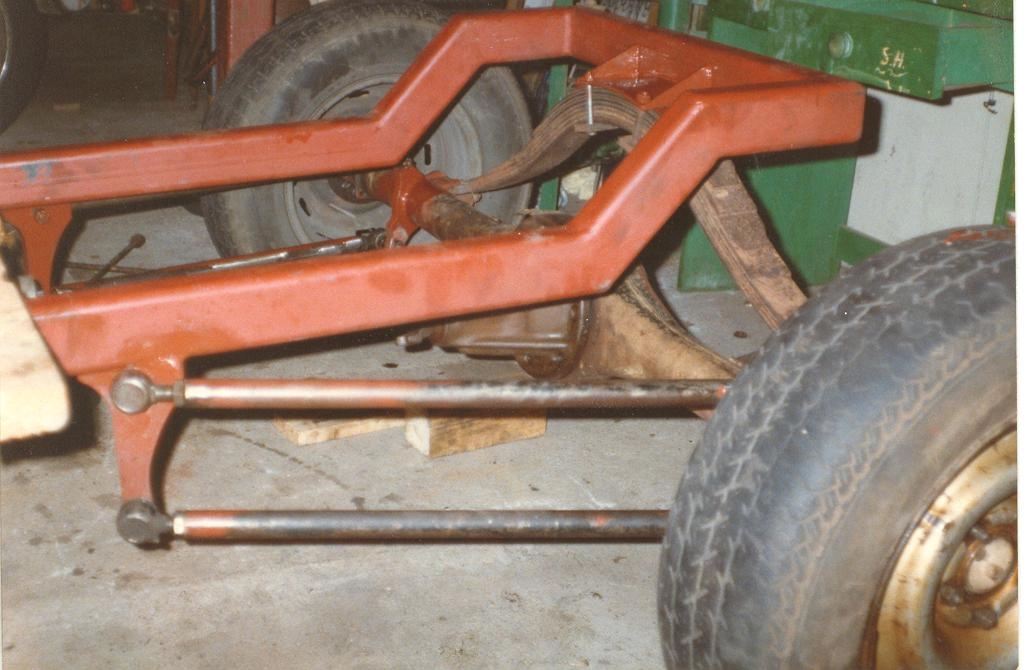
🔧 The Frame
The frame was fabricated from 1" x 1" box section steel tubing to create a strong and lightweight structure. A simple plastic chair was adapted for seating.
- 1" x 1" steel box section tubing
- Fully custom fabricated design
- Lightweight construction
- Simple functional seating

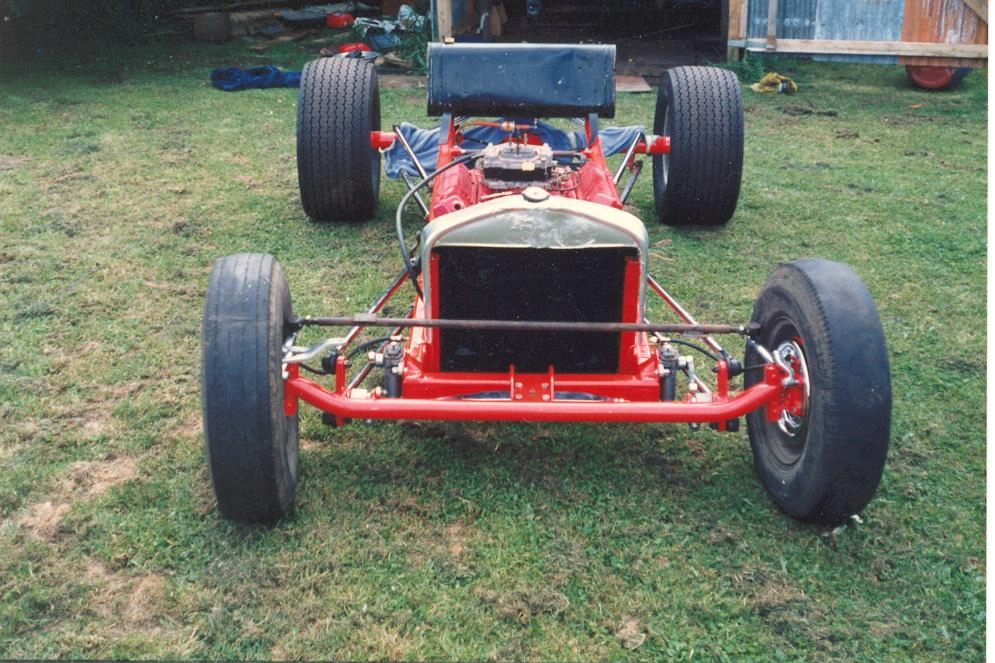
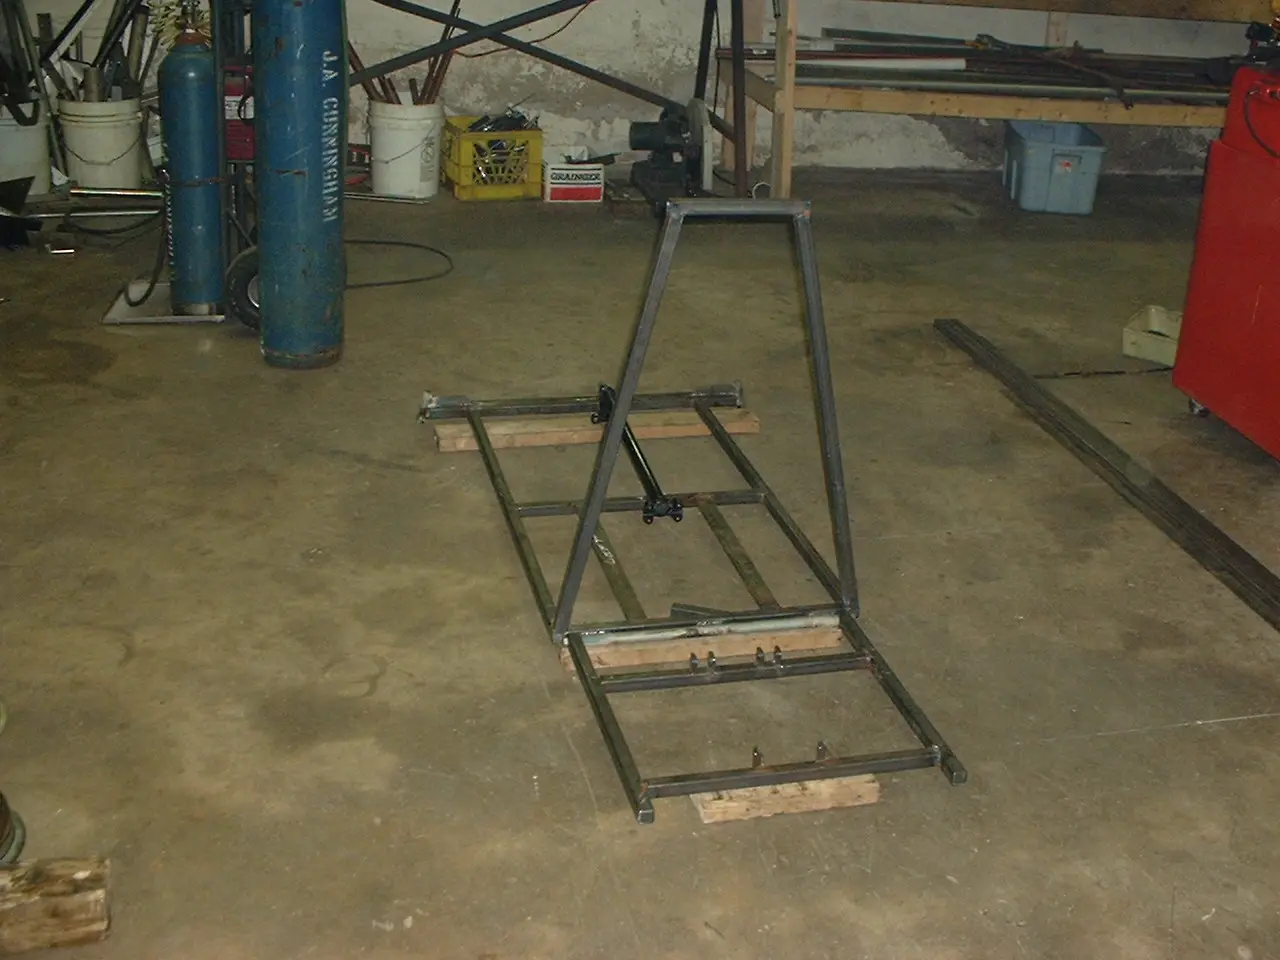
🎨 Frame Design
The chassis was built in two sections with a pivot point behind the roll bar, allowing for suspension movement and improved handling.
- Two-section pivoting frame
- Integrated roll bar
- Designed for strength and flexibility
- Improved ride characteristics
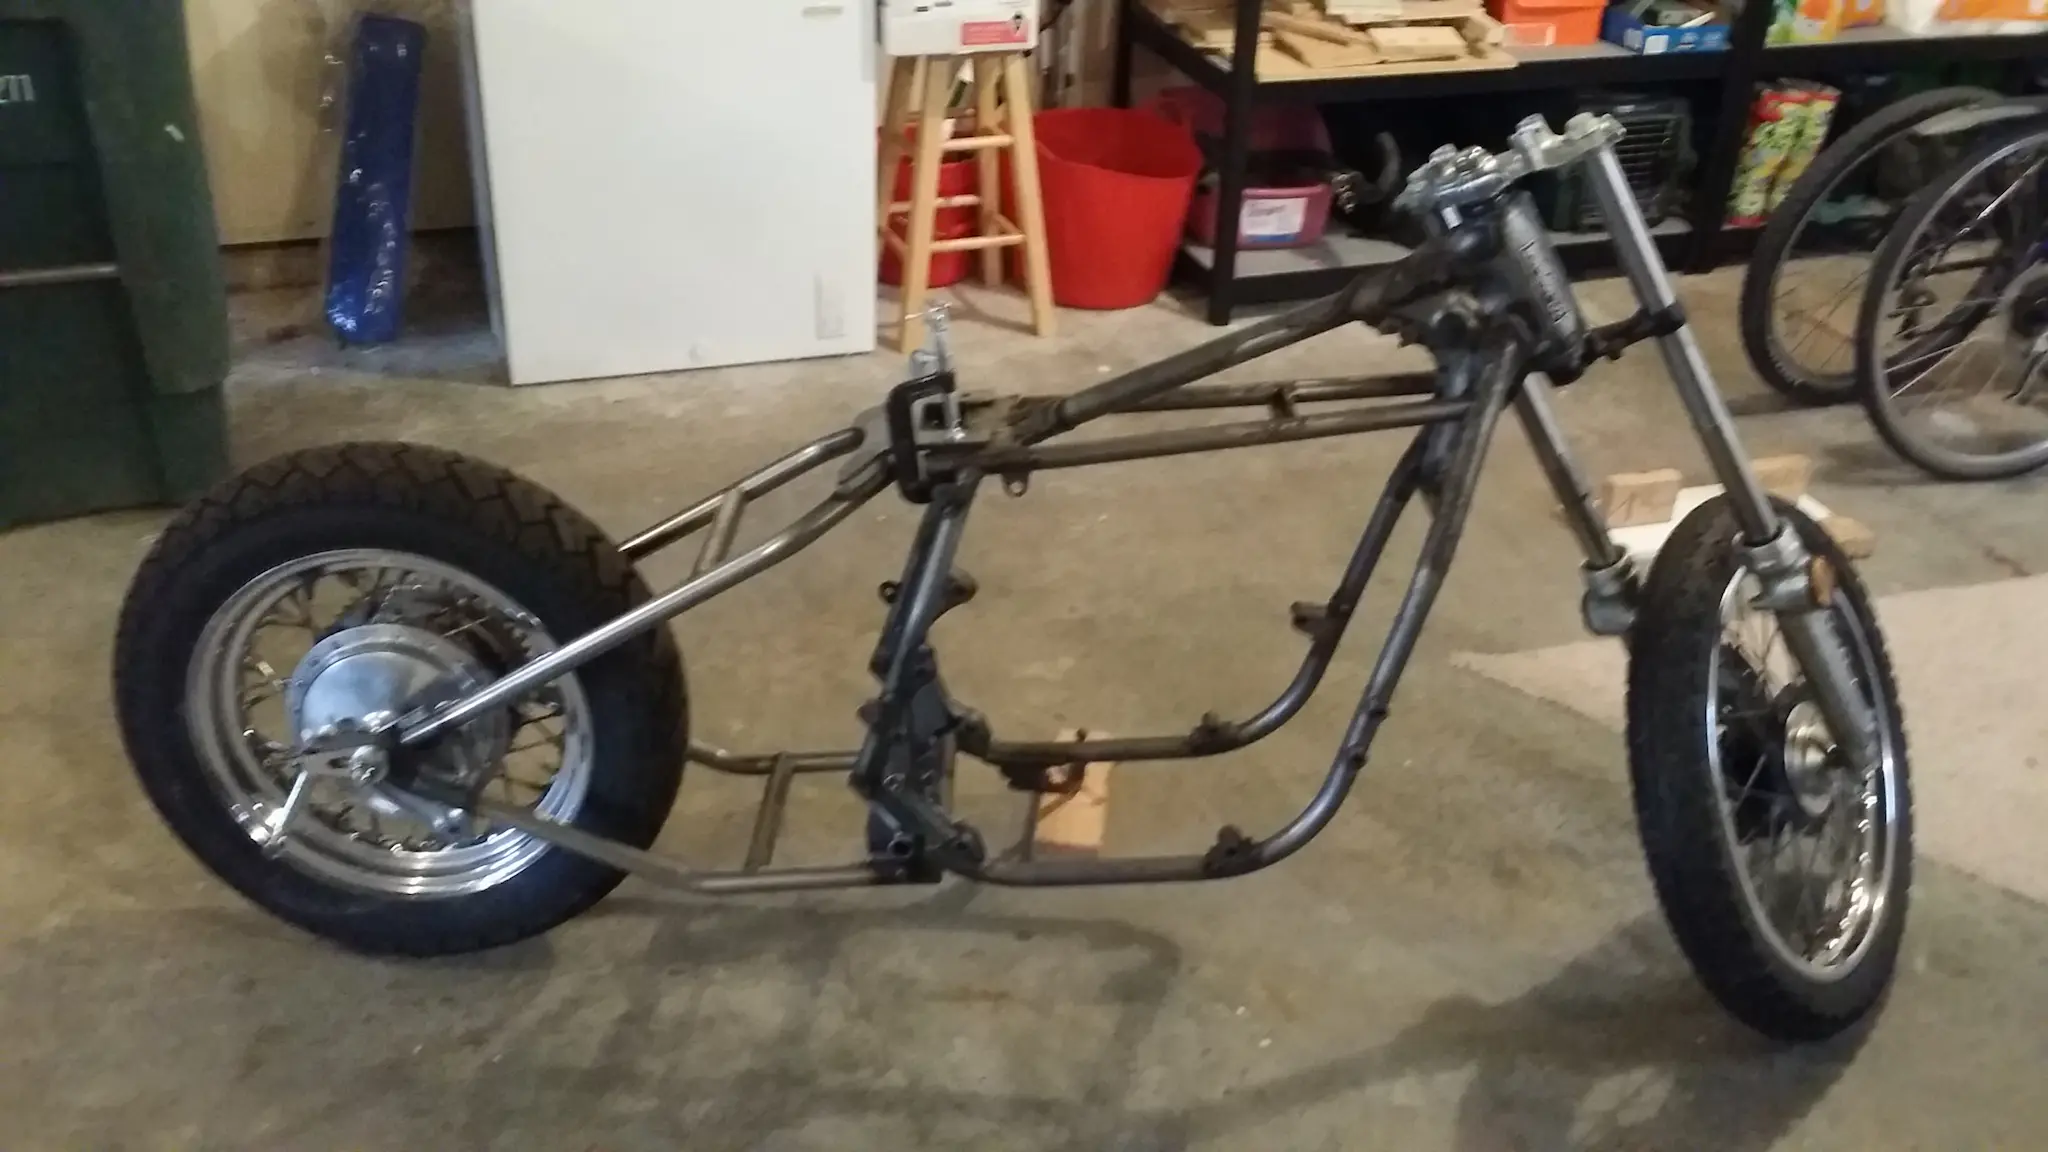
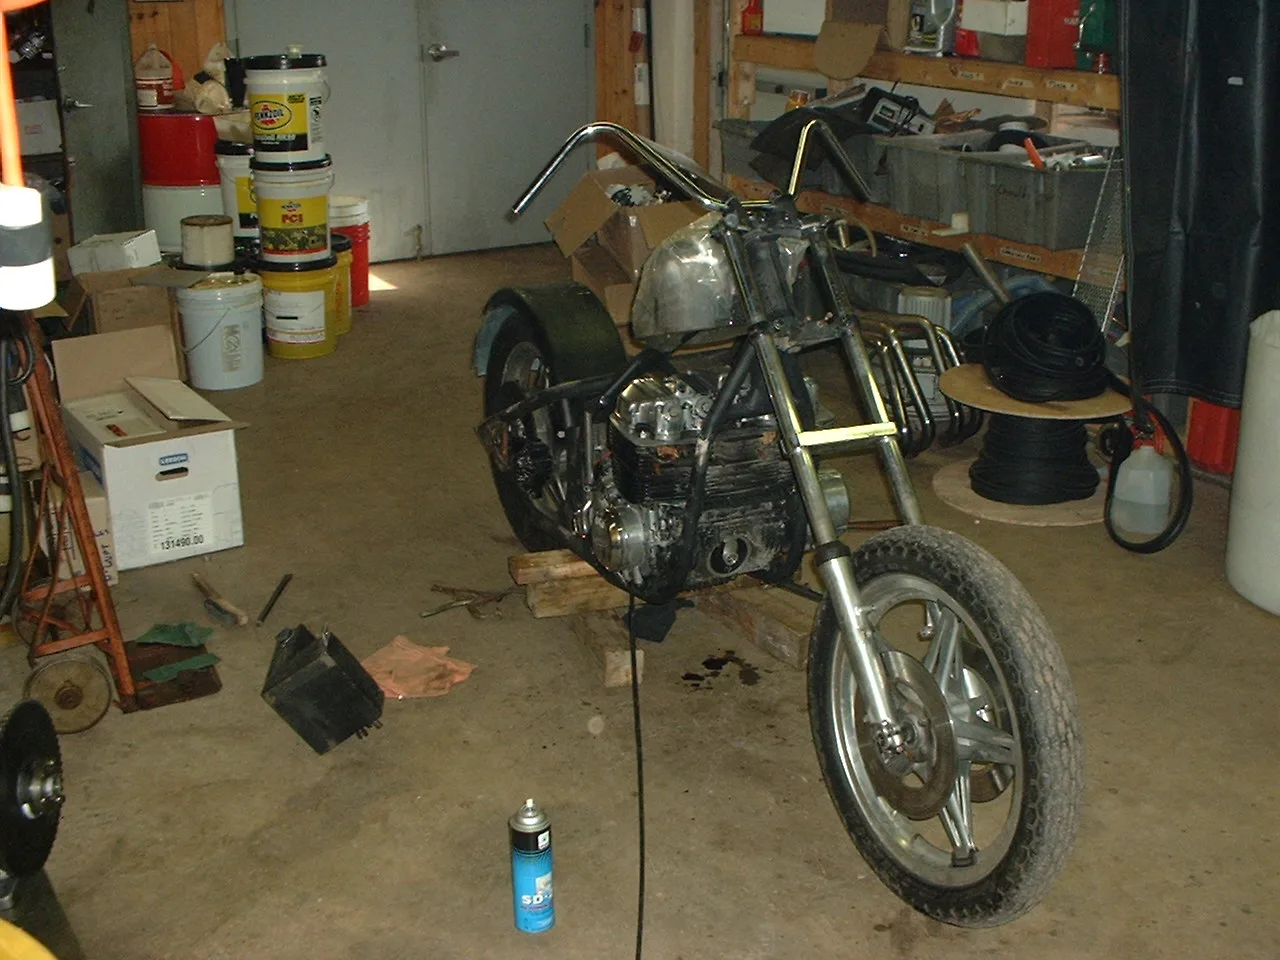
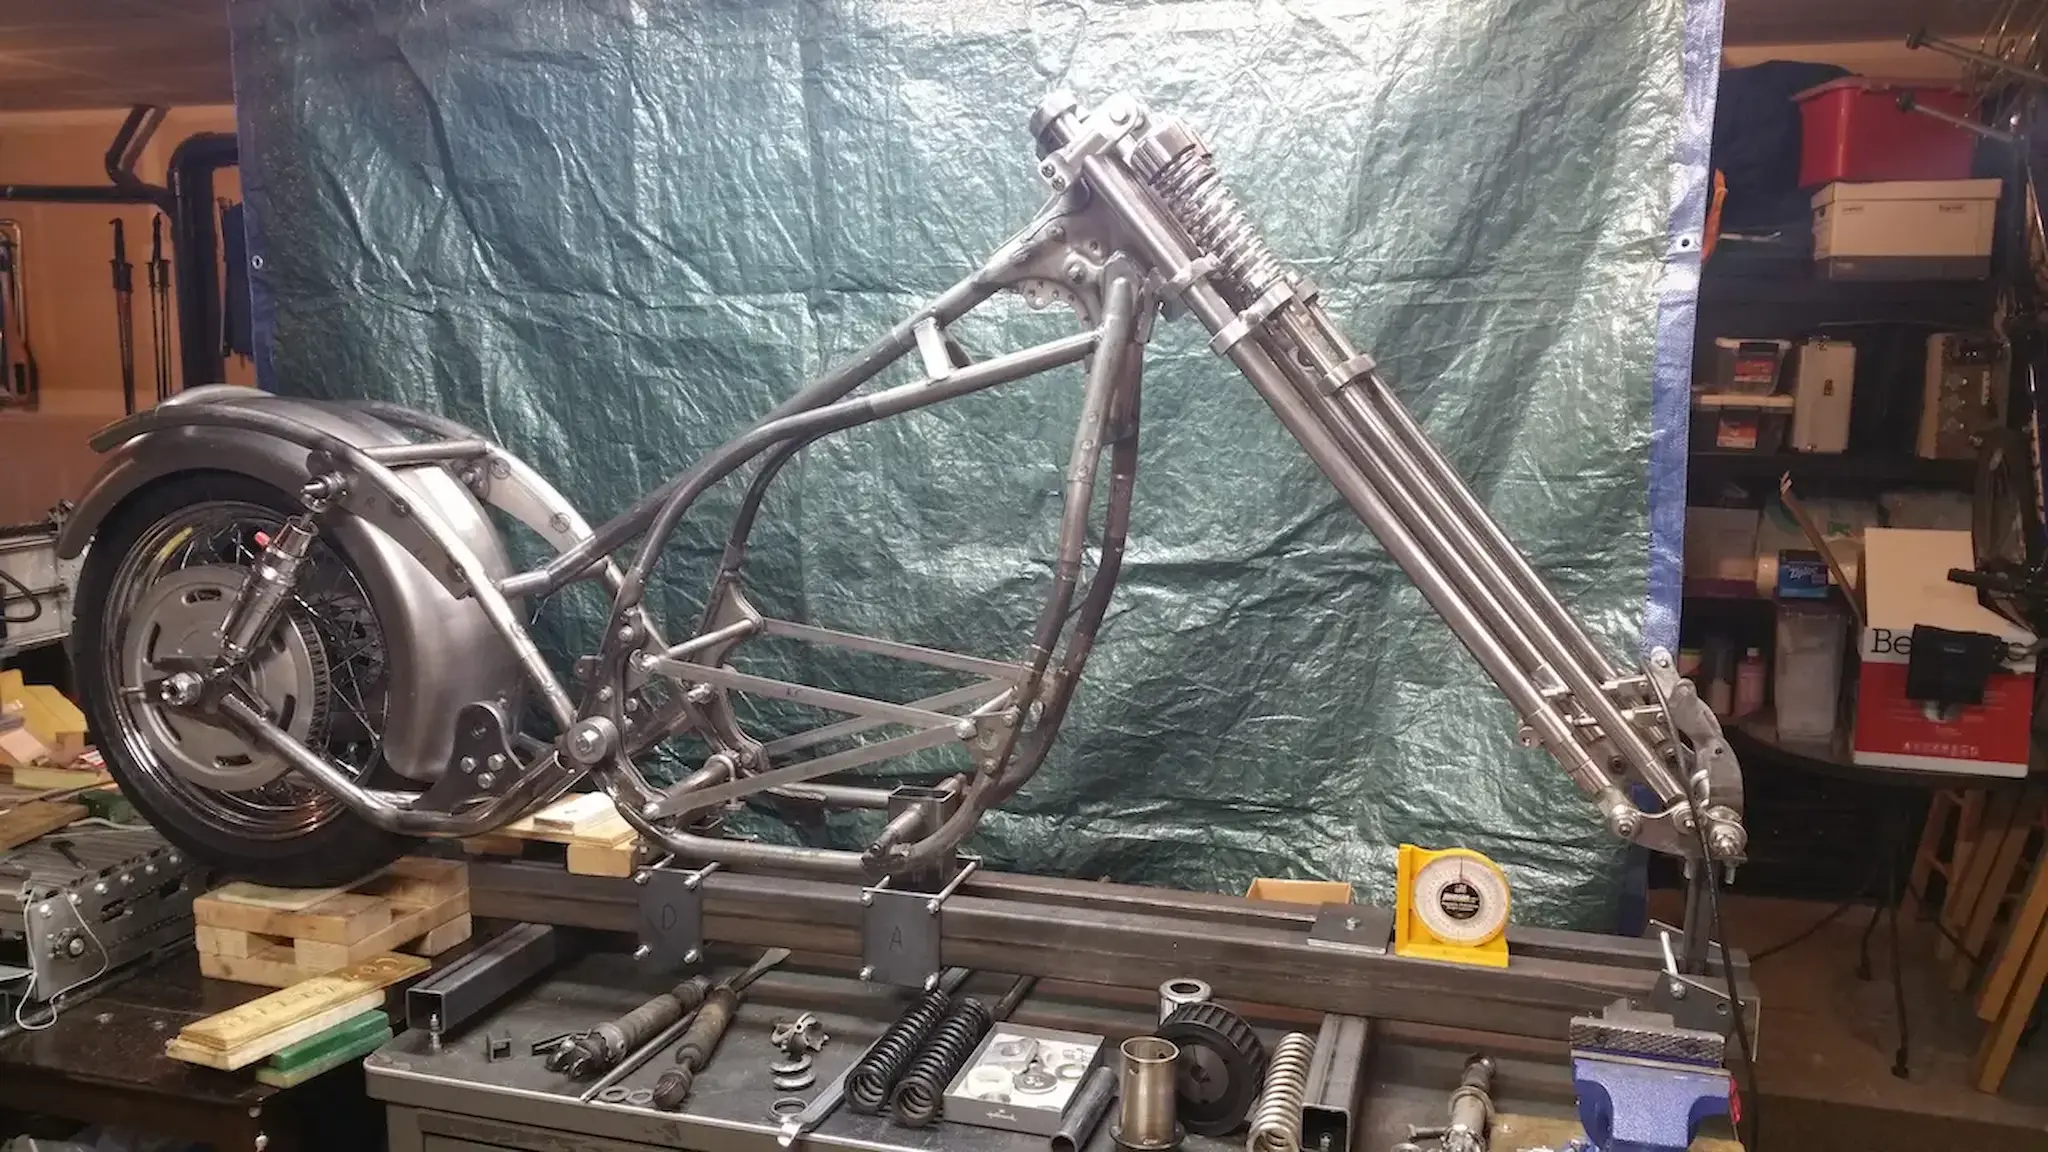
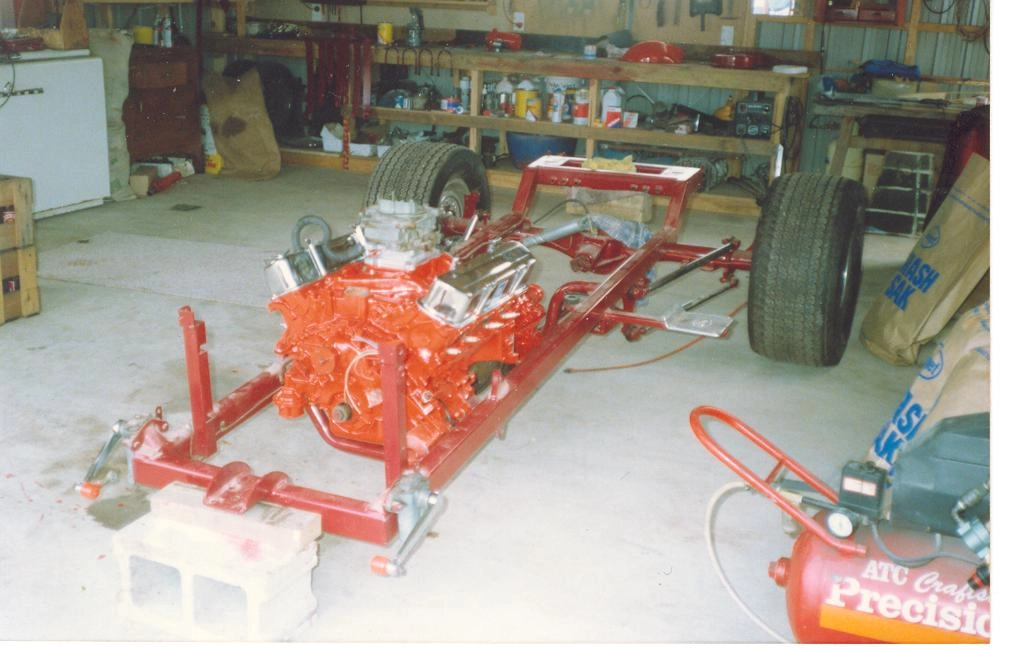
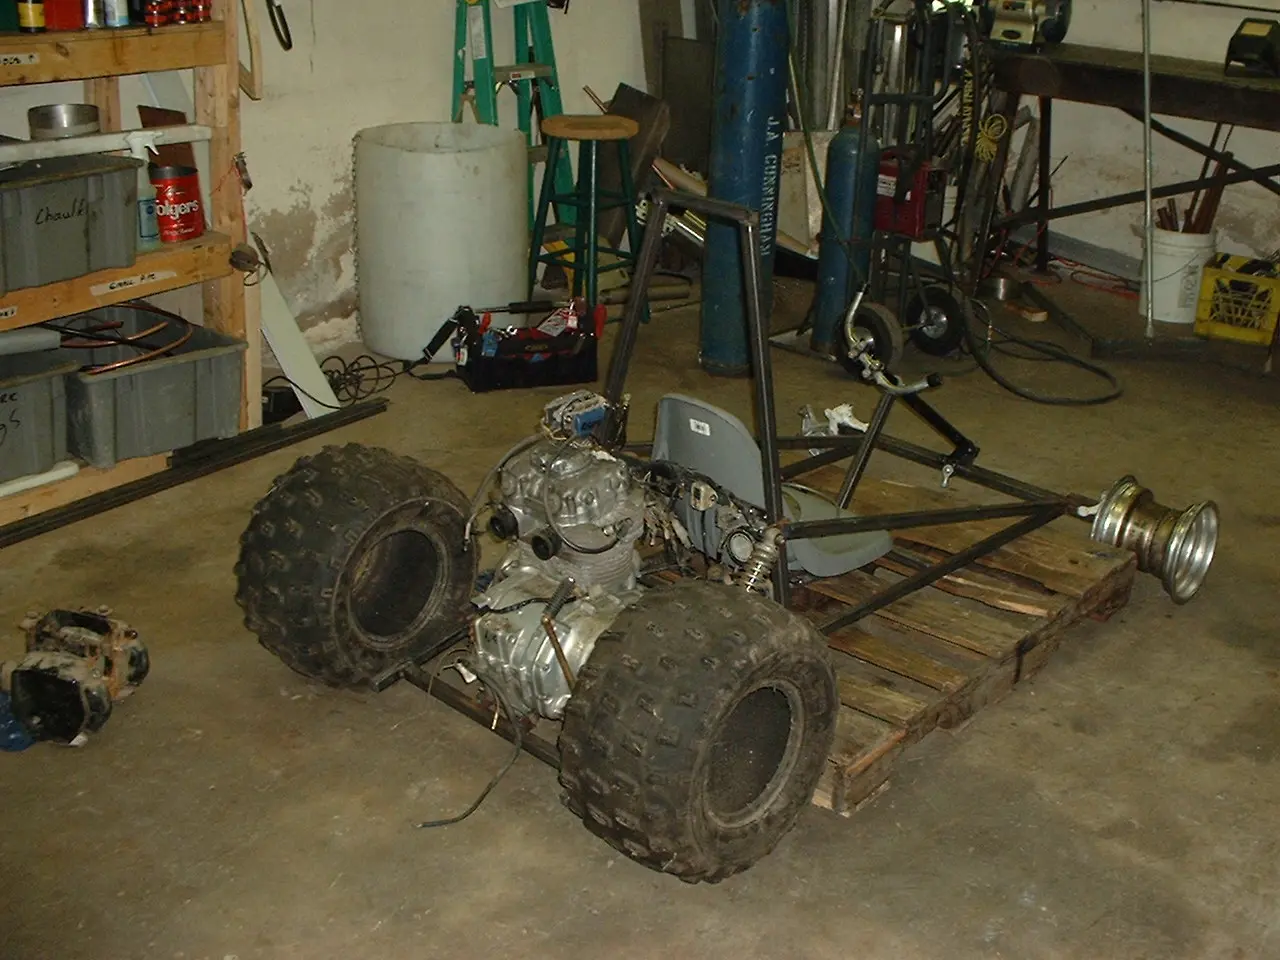
⚡ Mock Up
Major components were positioned on the frame to confirm fitment and layout before final welding.
- Engine positioned
- Component alignment checked
- Clearances verified
- Prepared for final welding
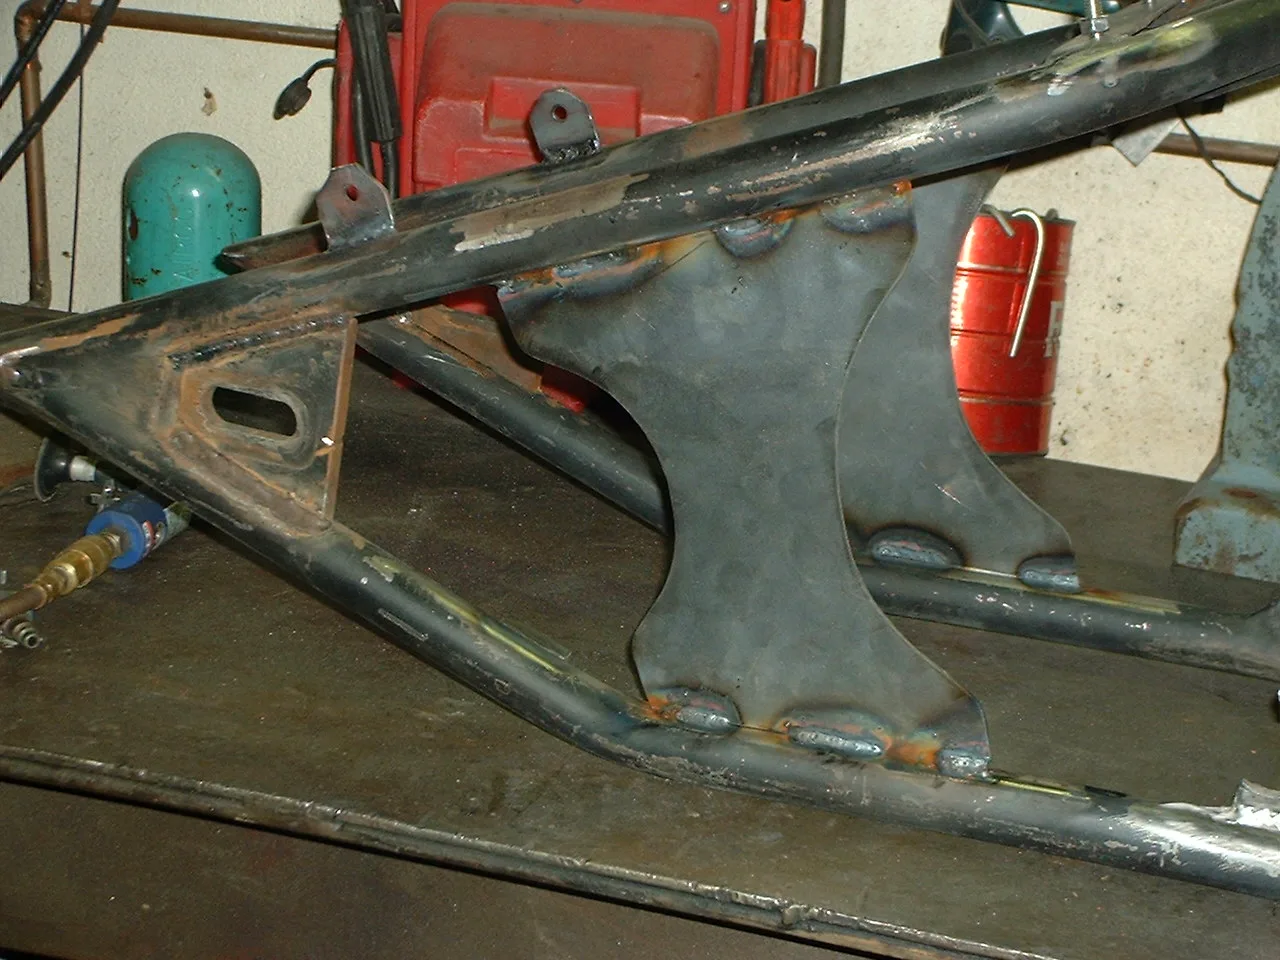
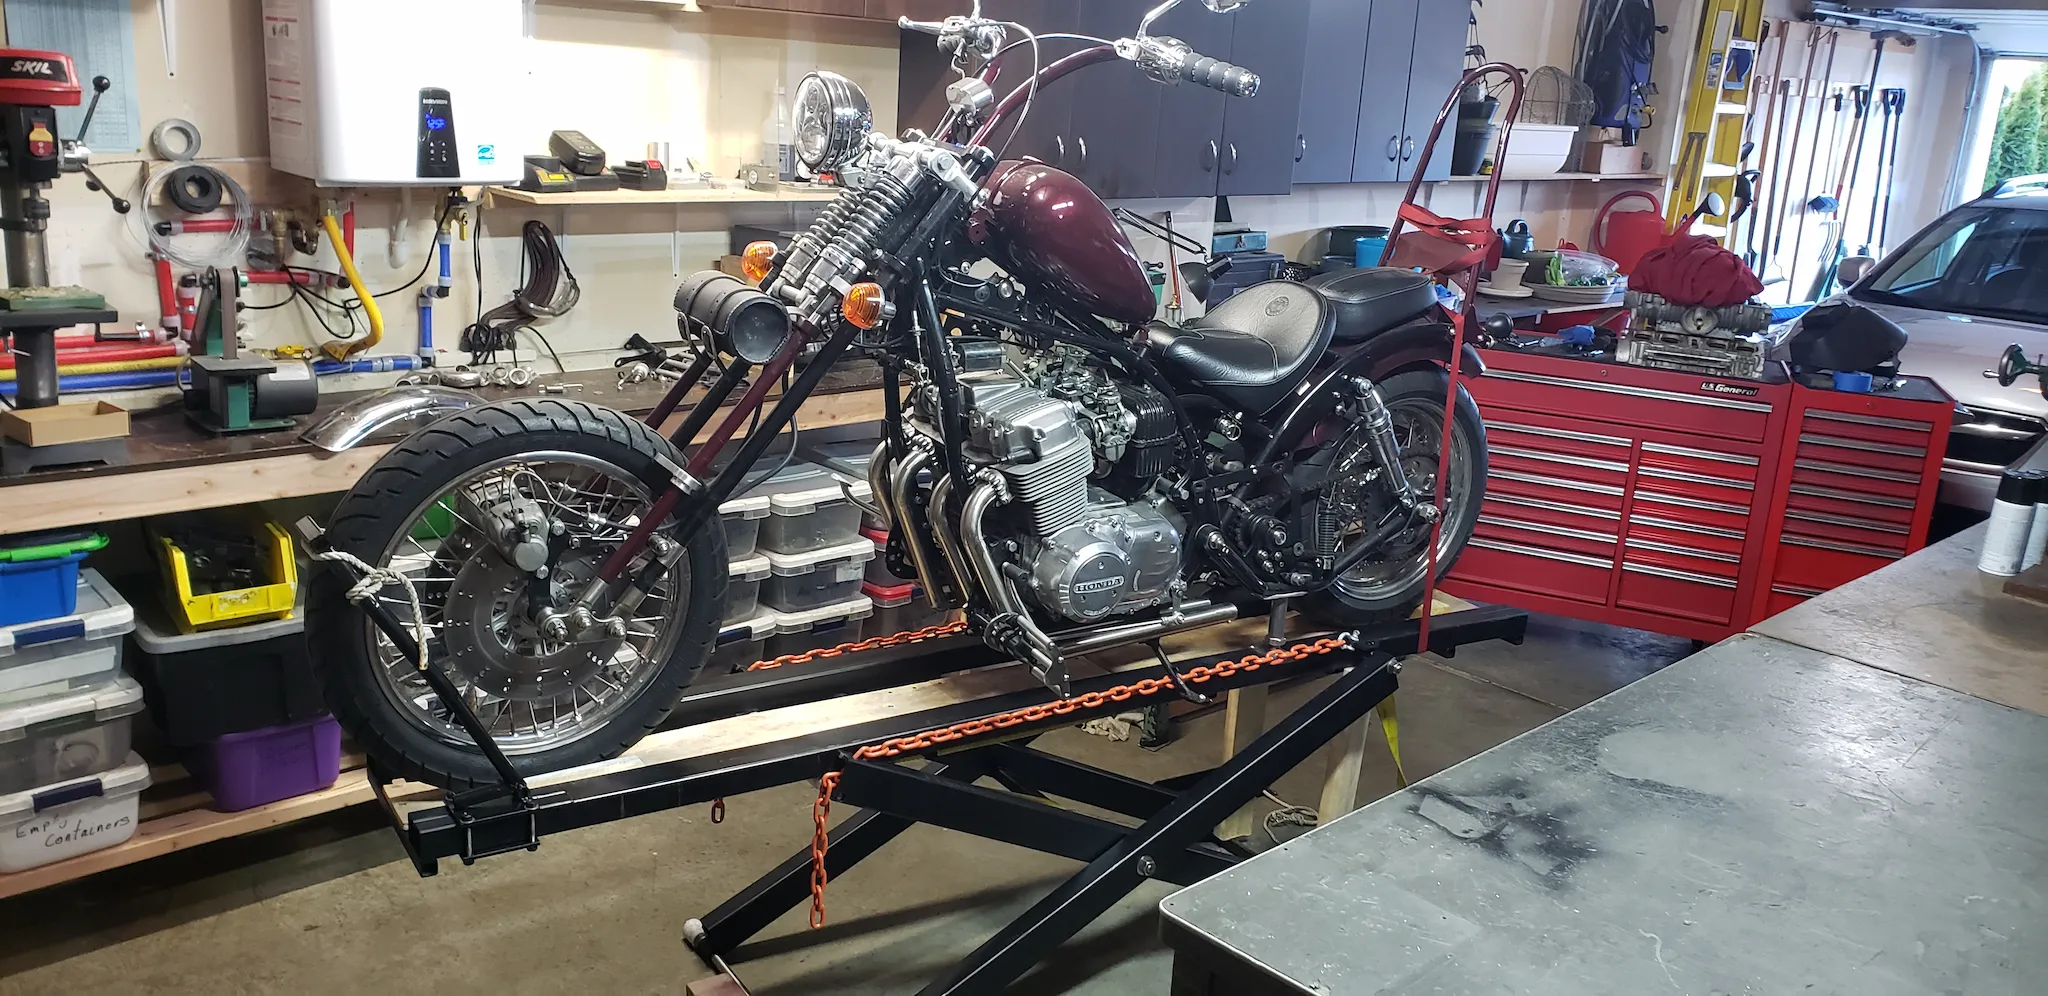
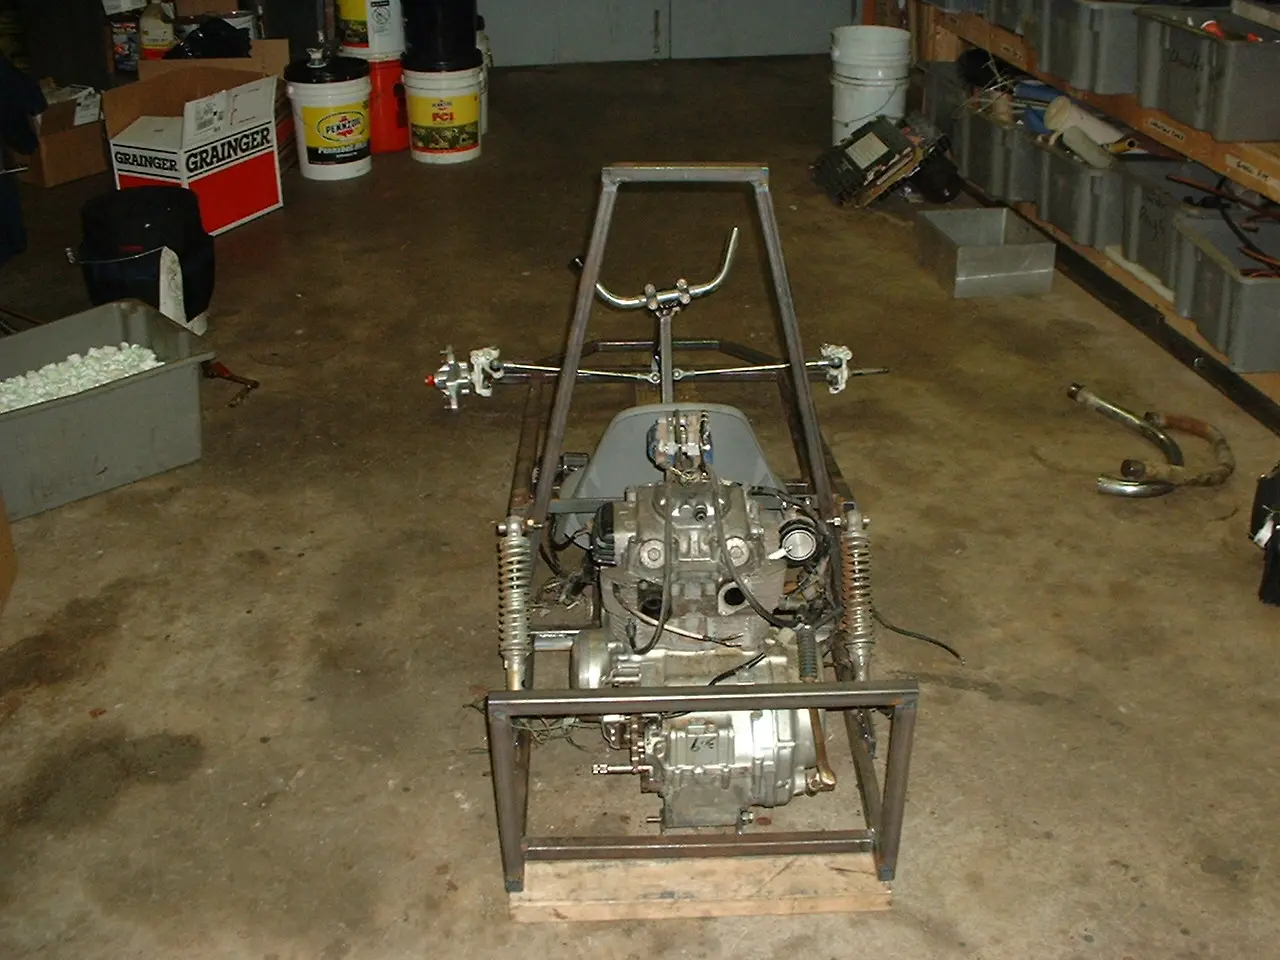
🛞 Weld Up
With suspension mounted and alignment confirmed, the chassis was fully welded to complete the structural assembly.
- Suspension installed
- Frame fully welded
- Structure completed
- Ready for finishing
🪛 Paint
The frame was painted to protect the steel and complete the visual appearance of the build.
- Frame cleaned and prepared
- Protective paint applied
- Final finish completed
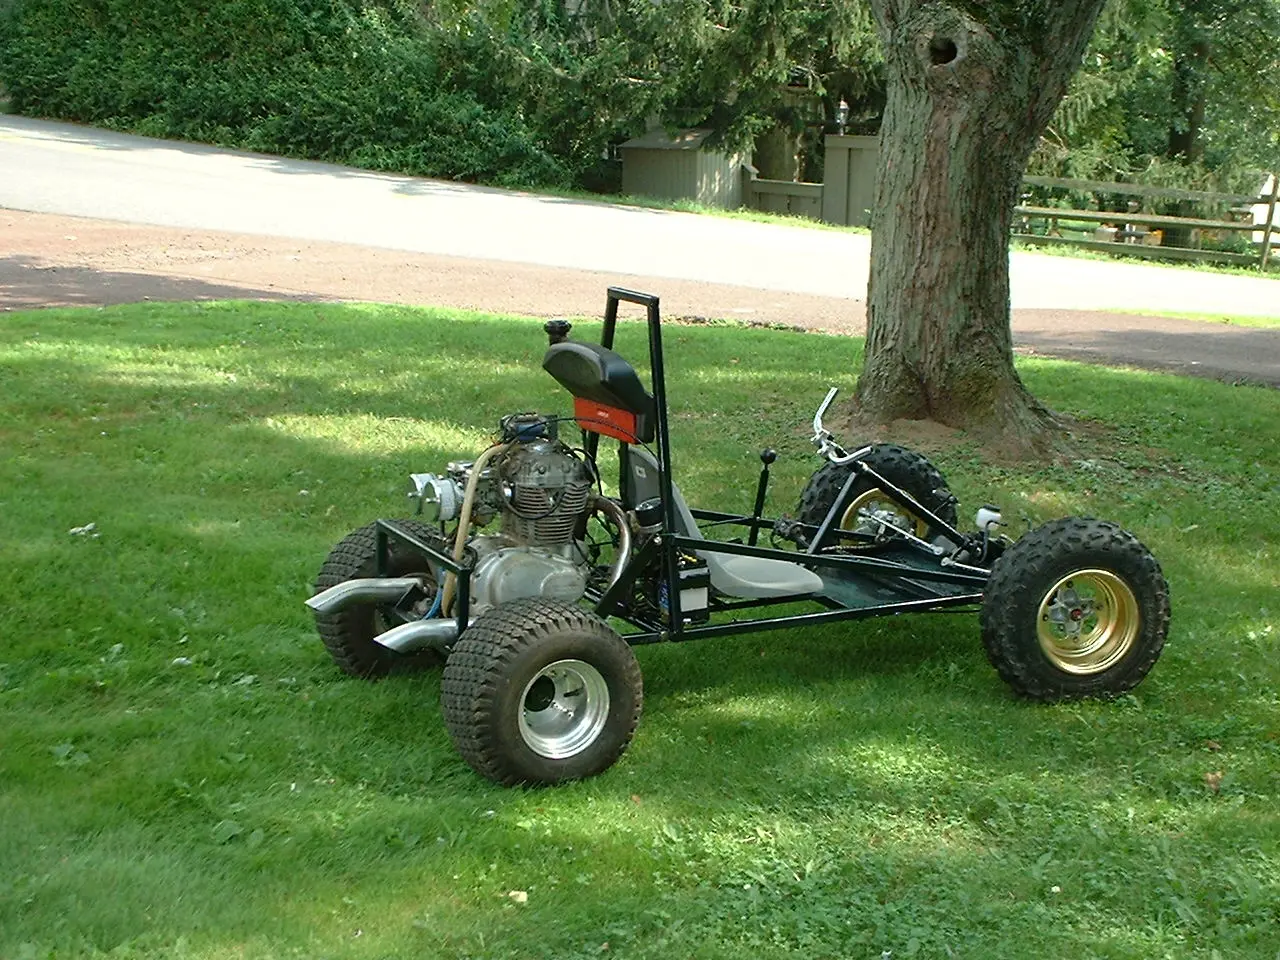
🏁 Finished Go-Cart
The completed go-cart sitting quietly under a tree. Its modest appearance hides the performance of the motorcycle engine powering it.
- Build completed successfully
- Fully functional and driveable
- Unique custom fabrication project
- Extremely fun to operate
This was one of my more unusual builds, taking a discarded motorcycle and turning it into something completely different. It was a fun and rewarding project that demonstrated how much potential can exist in forgotten machines.
Contact
Email: hobbyistworld@outlook.com
Website: Hobbyist World